|
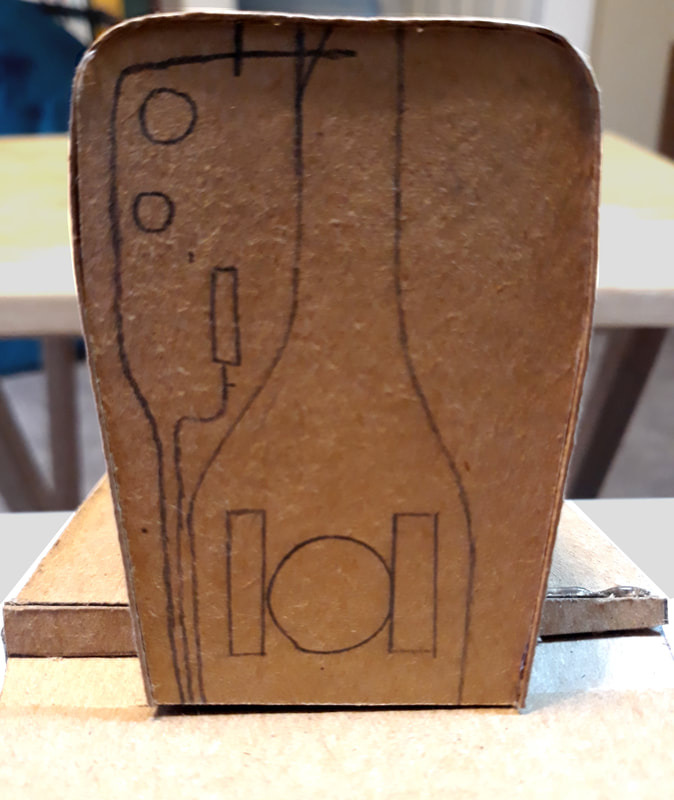
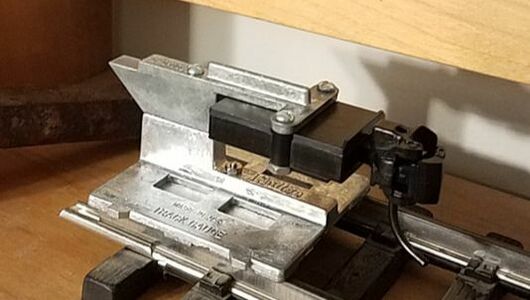
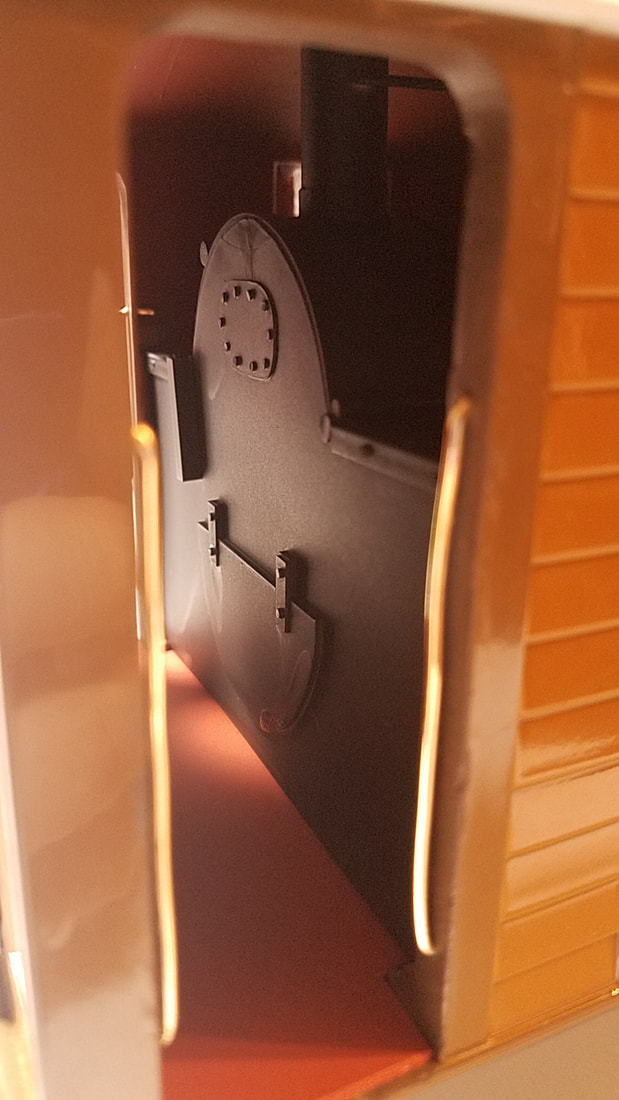
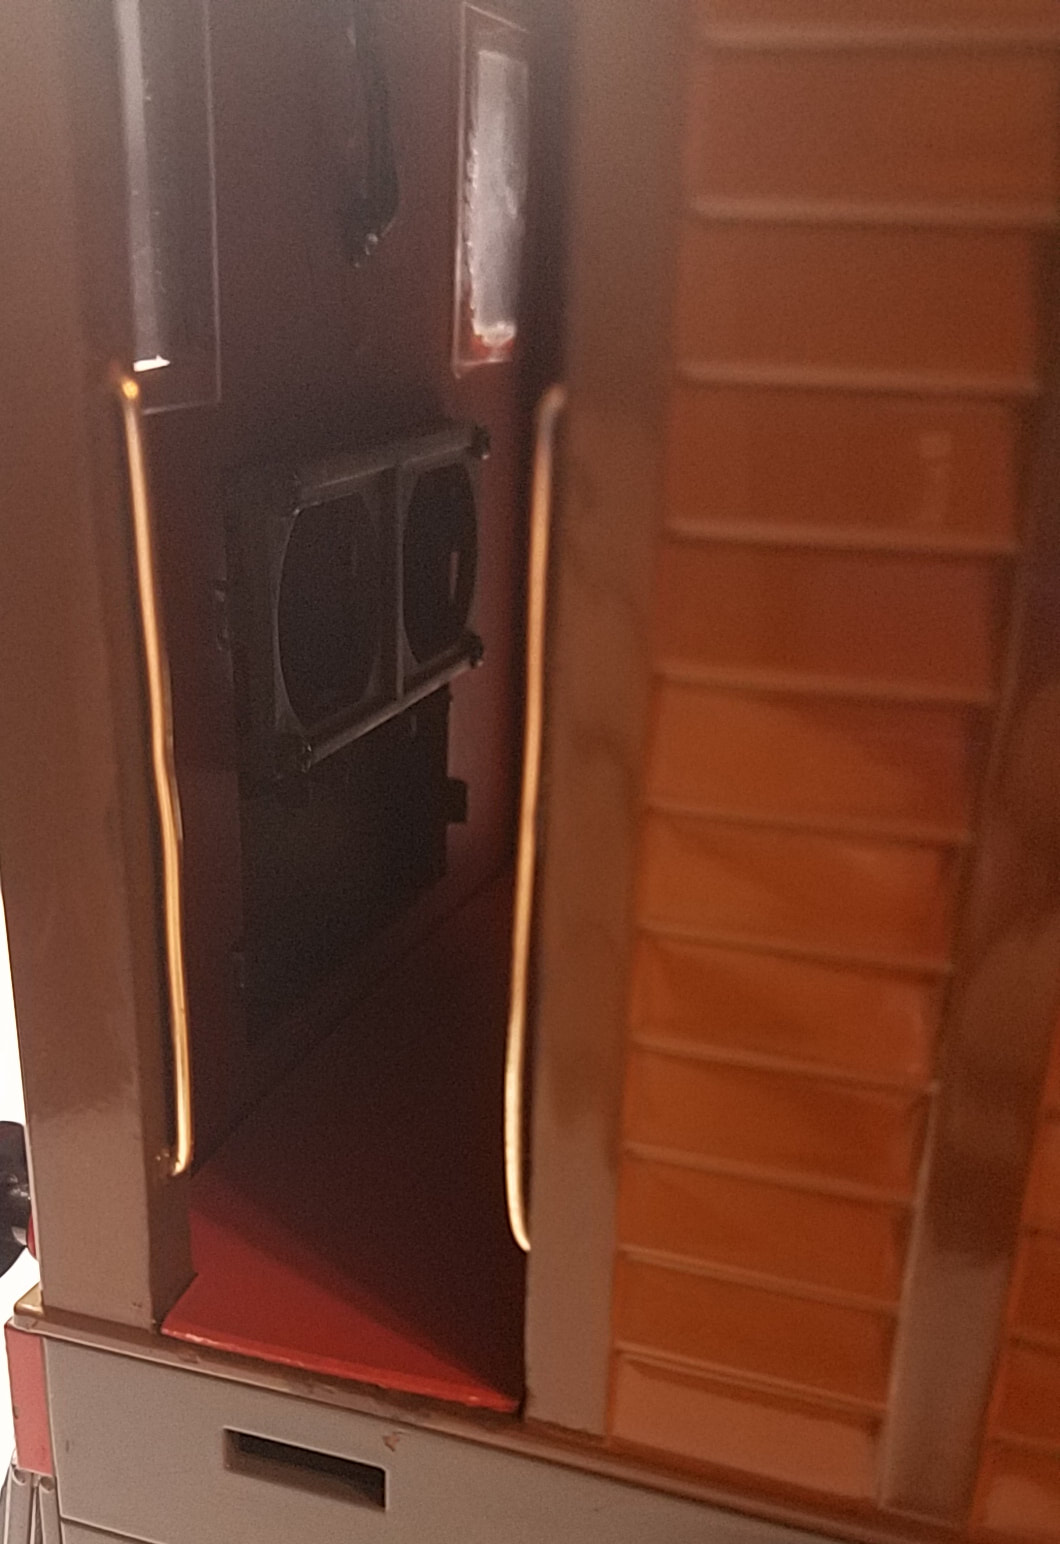
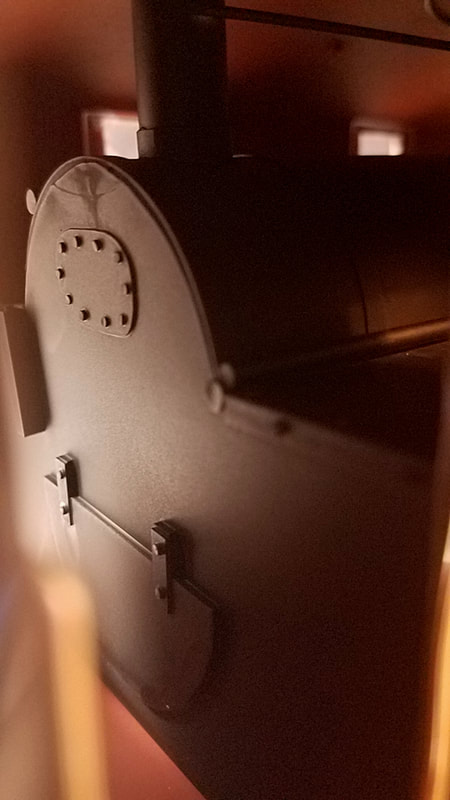
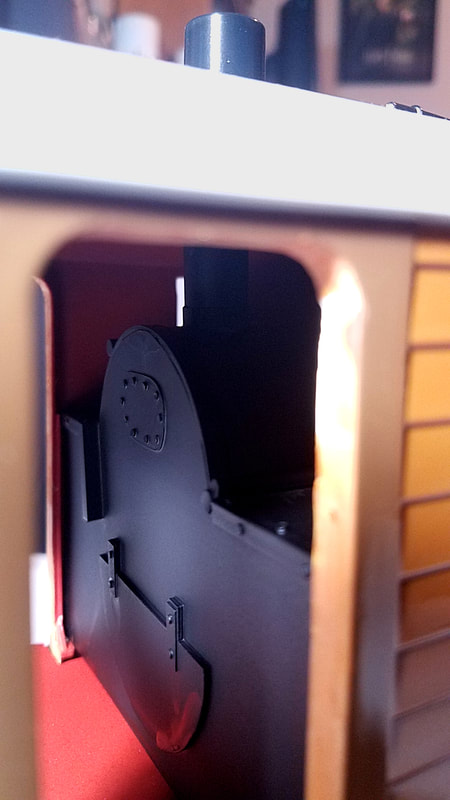
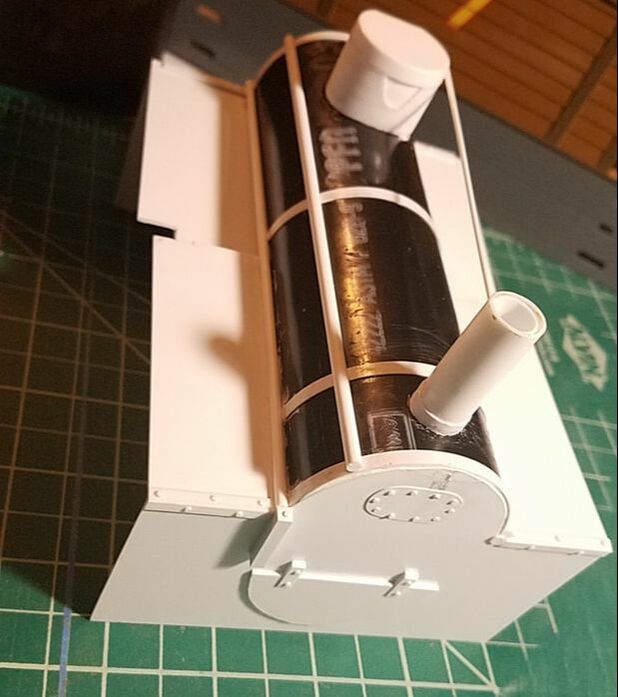
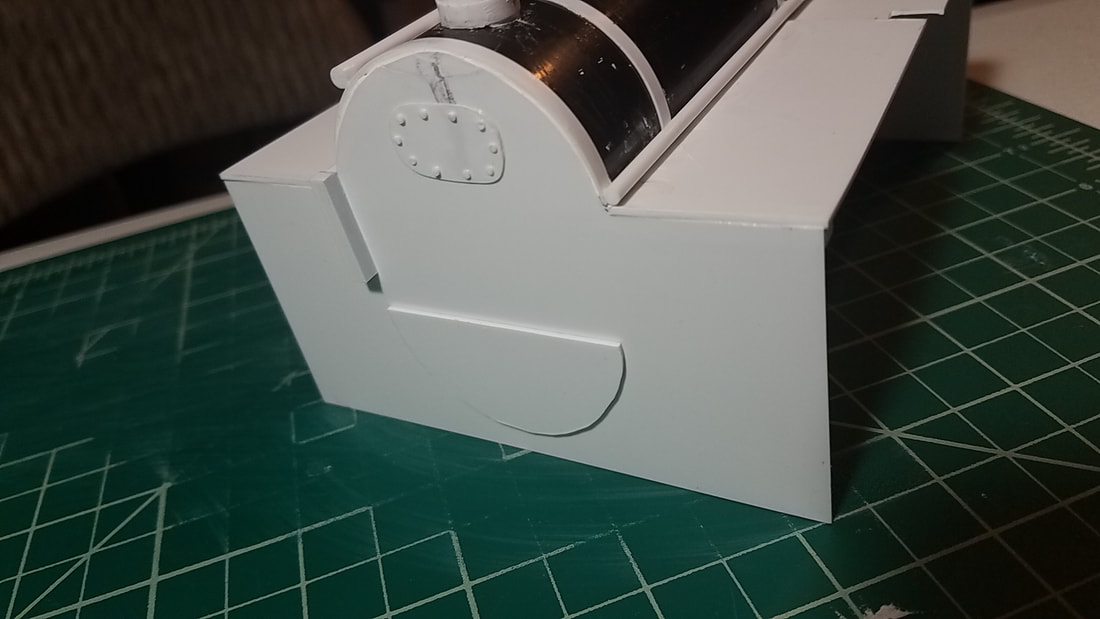
I've spent a few days working on my Hall build without giving an update. So, here it is. I spent a lot of time trying to figure out how this is all going to fit together nicely. I've never cut a loco apart like this, so it's going to take some effort to figure out. I ended up deciding that I would build a cardboard model before doing anything. Well, of course the reality is different from the plan. Instead, I am building the mock-up as I do the work. 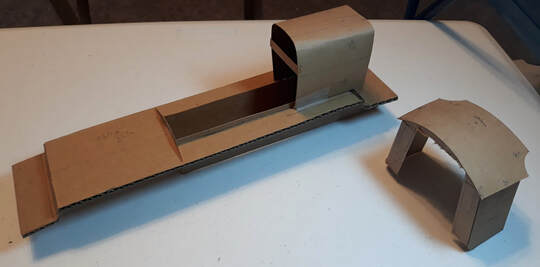 Here's a photo of the mock-up as it exists right now. The cab used to fit nicely in place, but now that I cut the firebox hole, it won't stay without being stuck in place. The Bachmann gearbox I have will be cut up to match the cardboard gearbox in the photo. Luckily, this will not require any rework of the gears or wheels. The firebox in the image needs to be a bit longer. But, this is exactly why I do this. I had cut the piece to be the length required outside the cab, so now I realize that I need to be sure that piece includes what is inside the cab too. Working out design details is much cheaper to adjust and fix in scrap cardboard than it would be in styrene or sheet metal.
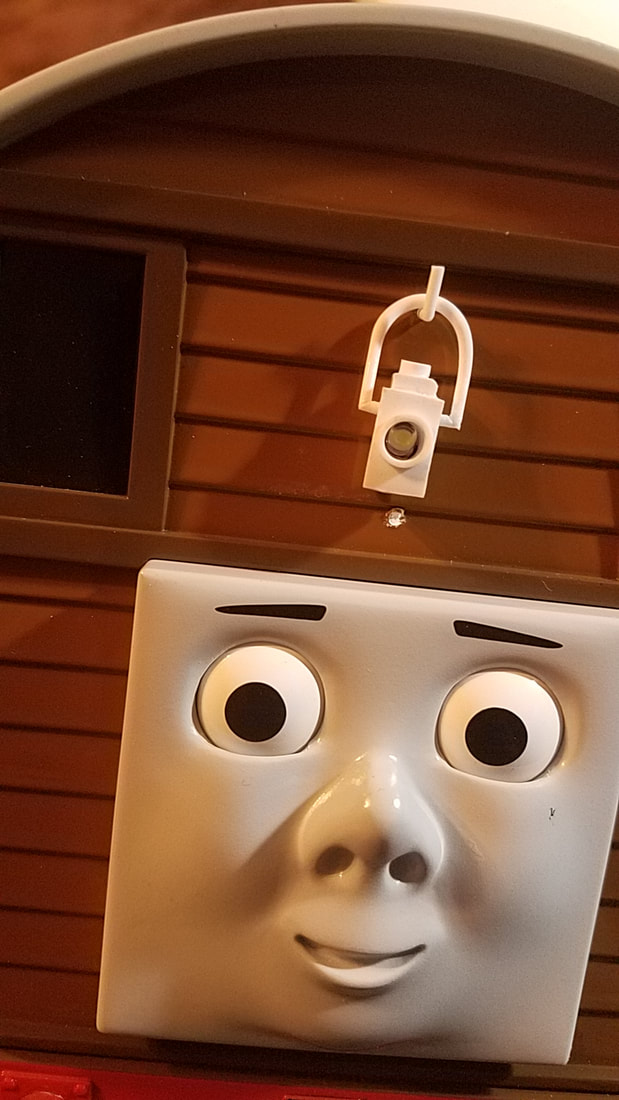
One other exciting note: I am thinking that the lamp from the front of the Bachmann loco will become the lamp for my snowplow!
0 Comments
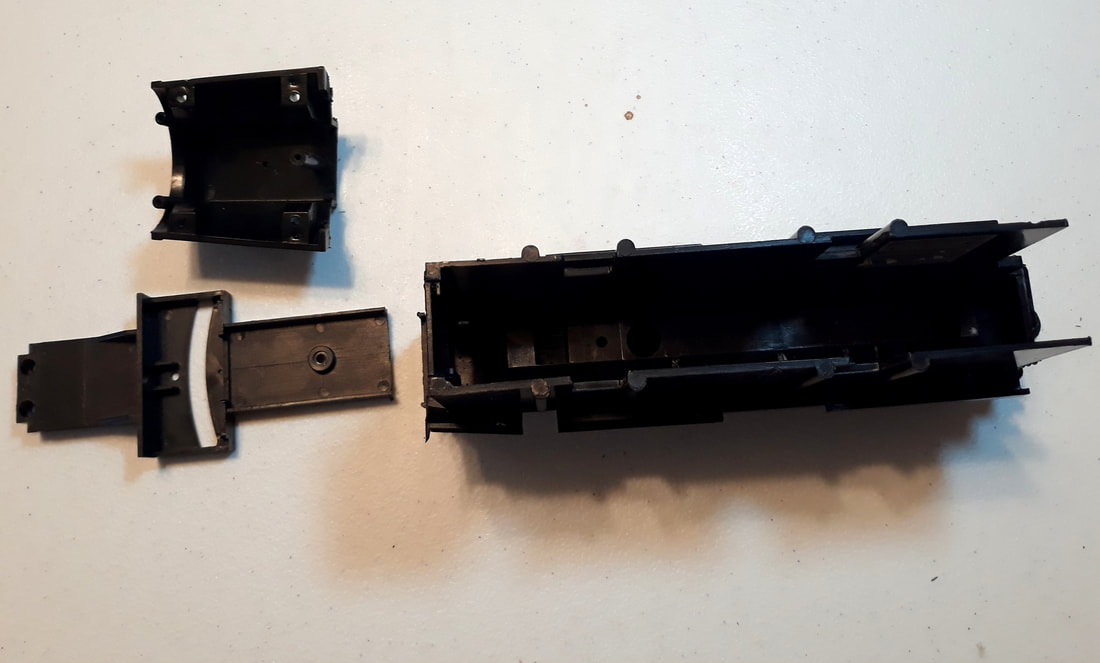
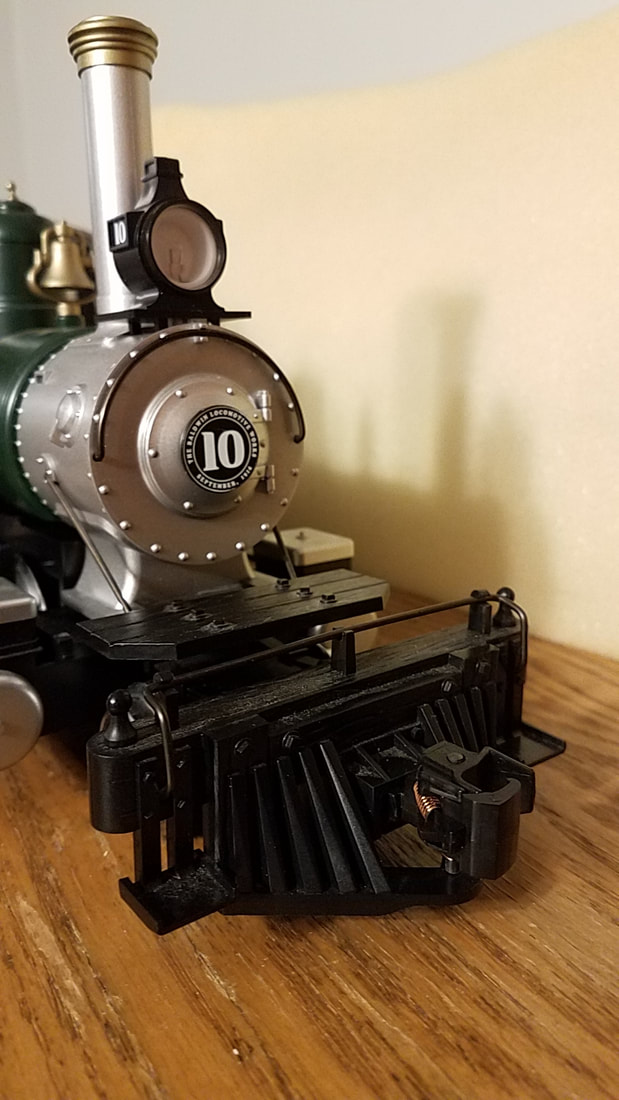
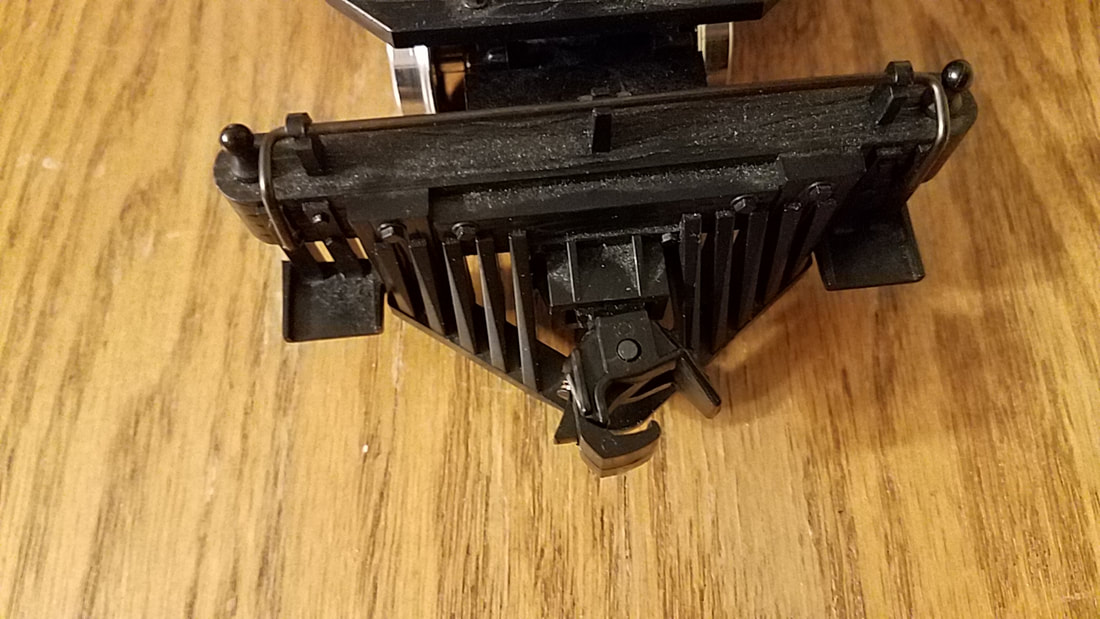
First, I took all the small details off the engine, including handrails, the bell, the light, generator, etc. Next I unscrewed every screw I could find. That allowed me to remove running boards, cowcatcher, and eventually the whole shell of the locomotive. One can see how big the circuit board is below.
Hello! I haven't been on this site in a very long time. (Mostly because I don't have a garden or railroad, but also because money is quite tight.) However, with the recent events of the world, I am finding myself with much more free time than I used to. So, I have returned to an idea that I had before: to custom build a Hall class locomotive based from a Bachmann 2-6-0 in 1:32 scale. That scale doesn't match my Forney, but it's okay because they wouldn't run together anyway. So, first thing with this project is to figure out the measurements of the loco and plan the components. So, I found this diagram of a Hall class from greatwestern.org.uk .  I then edited the file to scale it down to millimeters. There are numbers I'll have to figure out still. 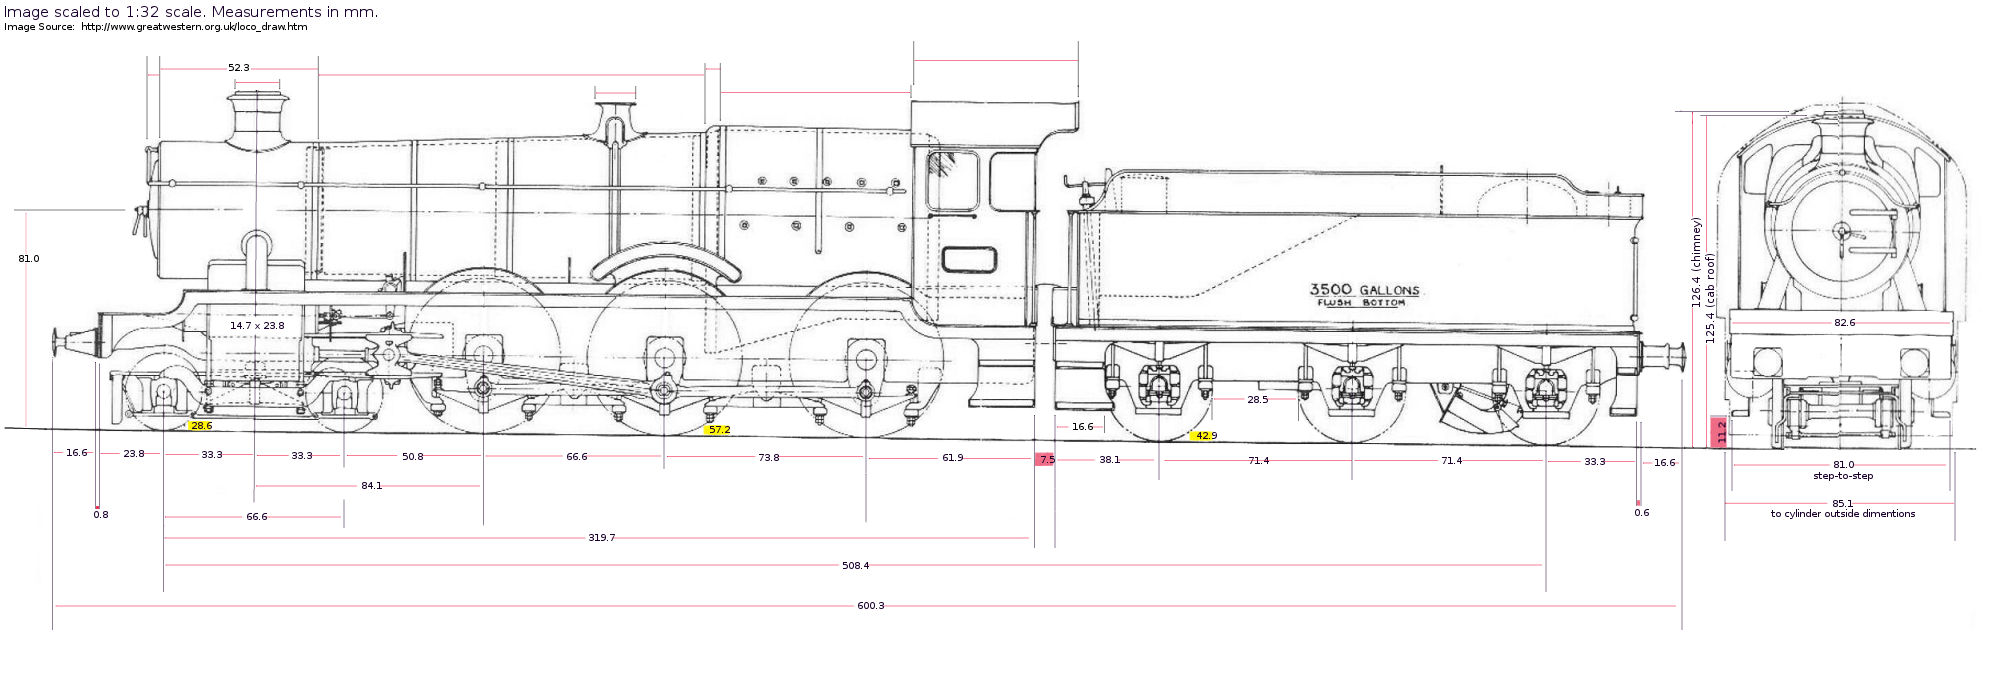 In terms of circuitry, this locomotive will be simpler than others. The engine will run on battery power, R/C control, with sound. That is all. If I can still get them from England, I will continue to use the RC Trains receiver for this engine. It will be #5 on my Tx22. I may have found a good starting point for this project. Bachmann's 4-6-0 Big Hauler maintains a lot of the basic profile of the hall class engines, but will require the addition of the external firebox, larger wheels, tender, and British-style chimney & steam release.  I finally got my Forney working properly! I've received another package from the UK and have been able to fit a new Rx into my loco. I also ordered a different Tx that can control 12 different locos and has inertia control. I really like this controller and recommend it.
No photos today. I'm still getting used to my new apartment, and don't have much here. But, I'm getting there. Hopefully soon I am going to visit some local layouts.
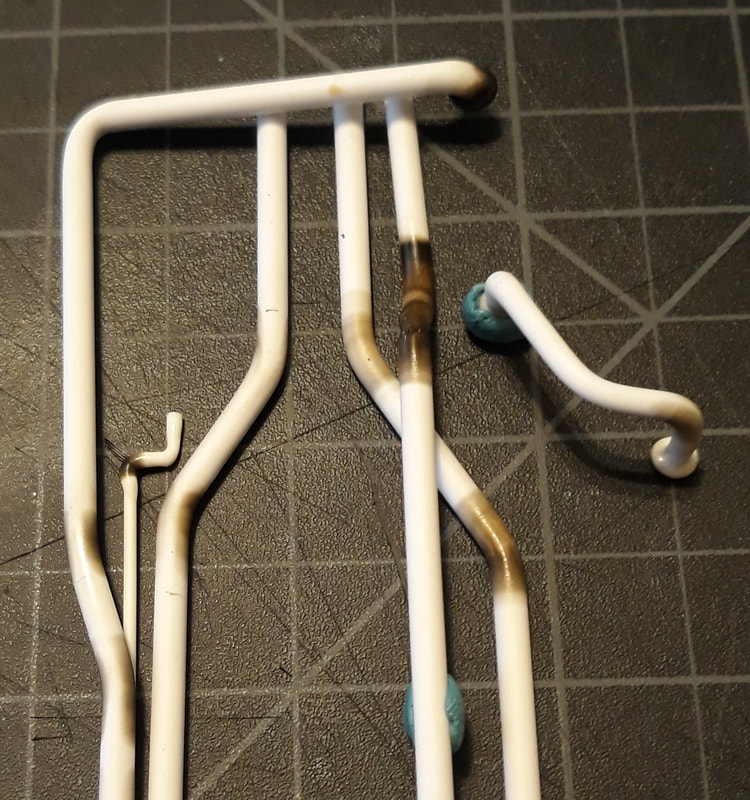
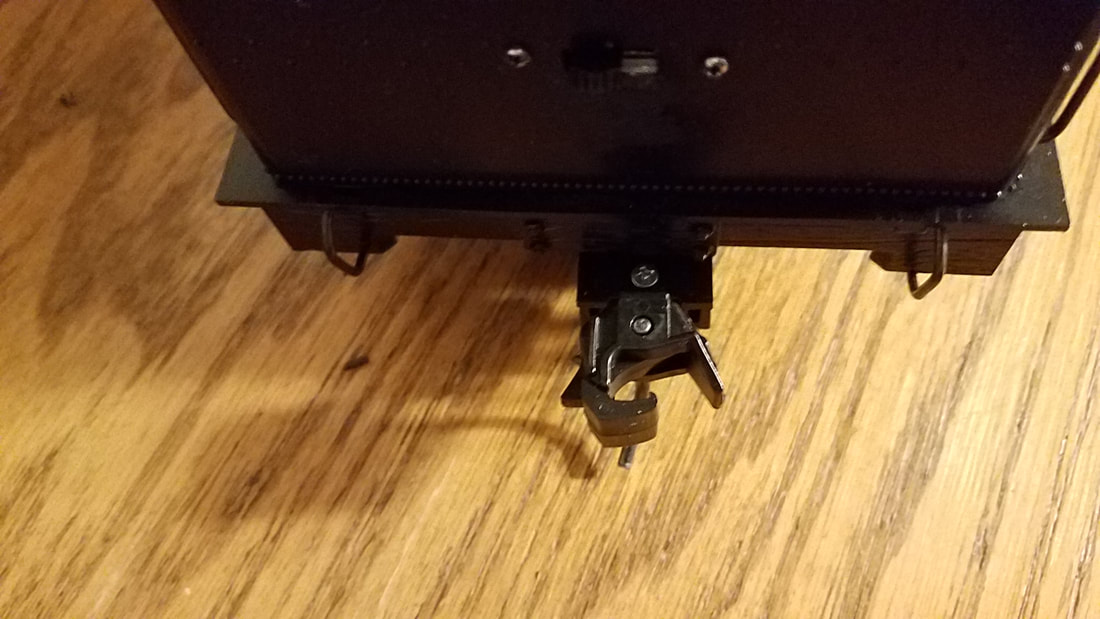
I also bought one #831 set of couplers. These are large off-set couplers for truck mounting. I put them on my SRRL caboose. You can see that I aquired a few older Kadees from eBay purchases in the below photo. The original owner had painted the couplers to look rusty. They also cut the trip pins. I've done my best to refurbish the internal workings of these units, but not all of them have worked well. I may have to just replace them. 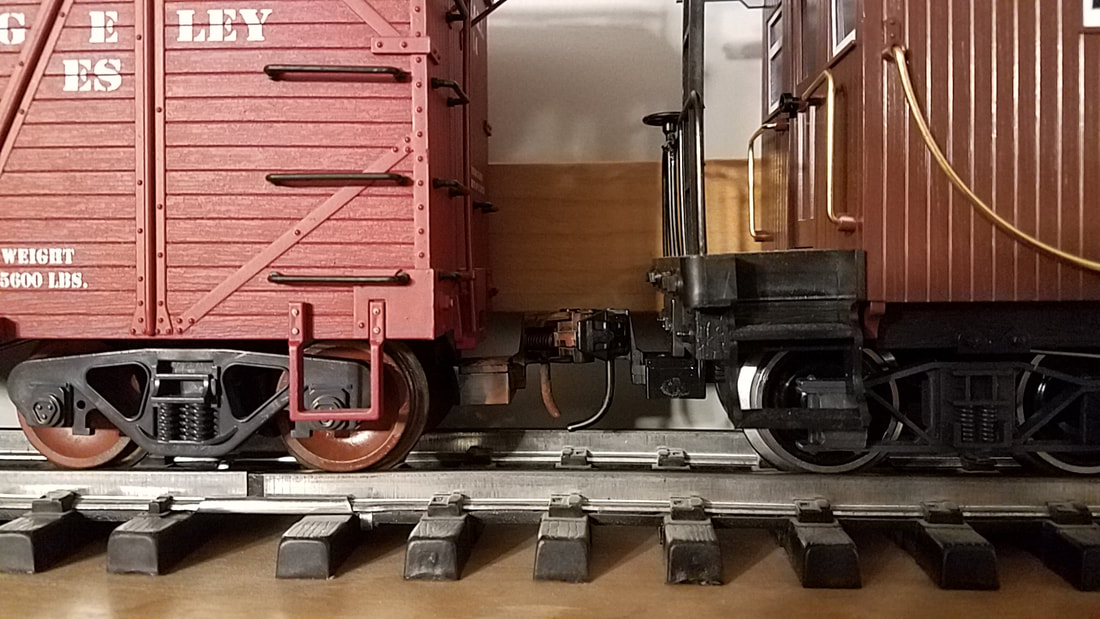
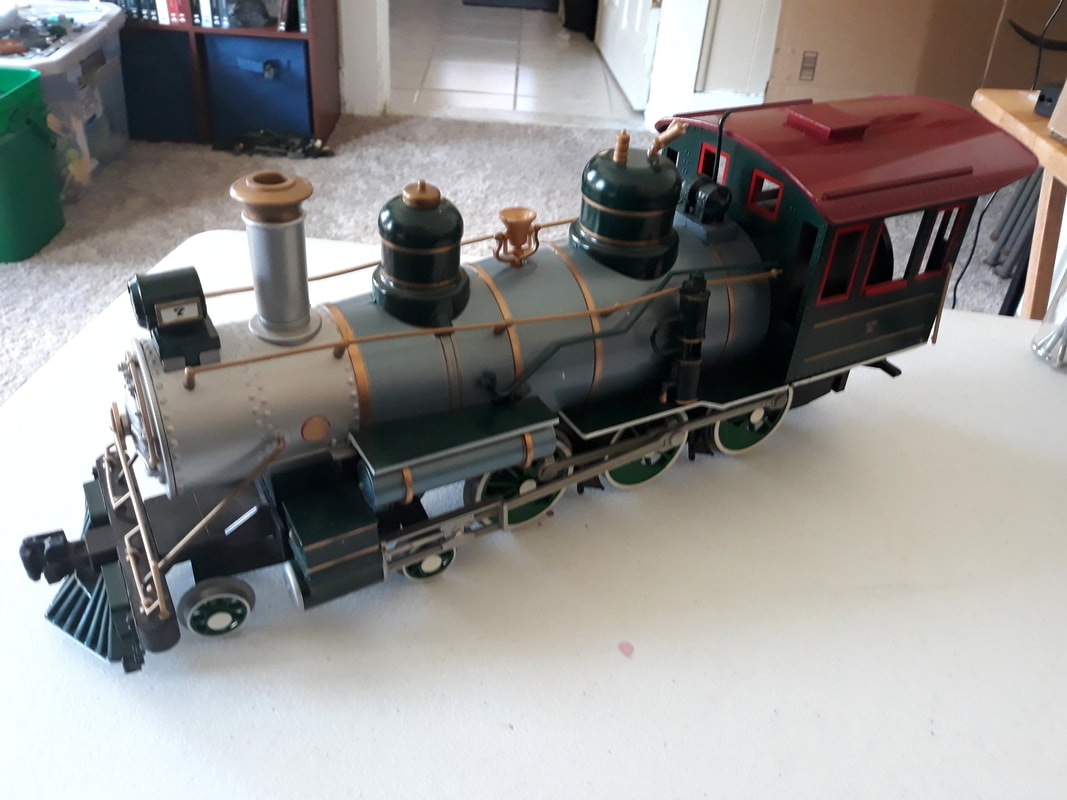
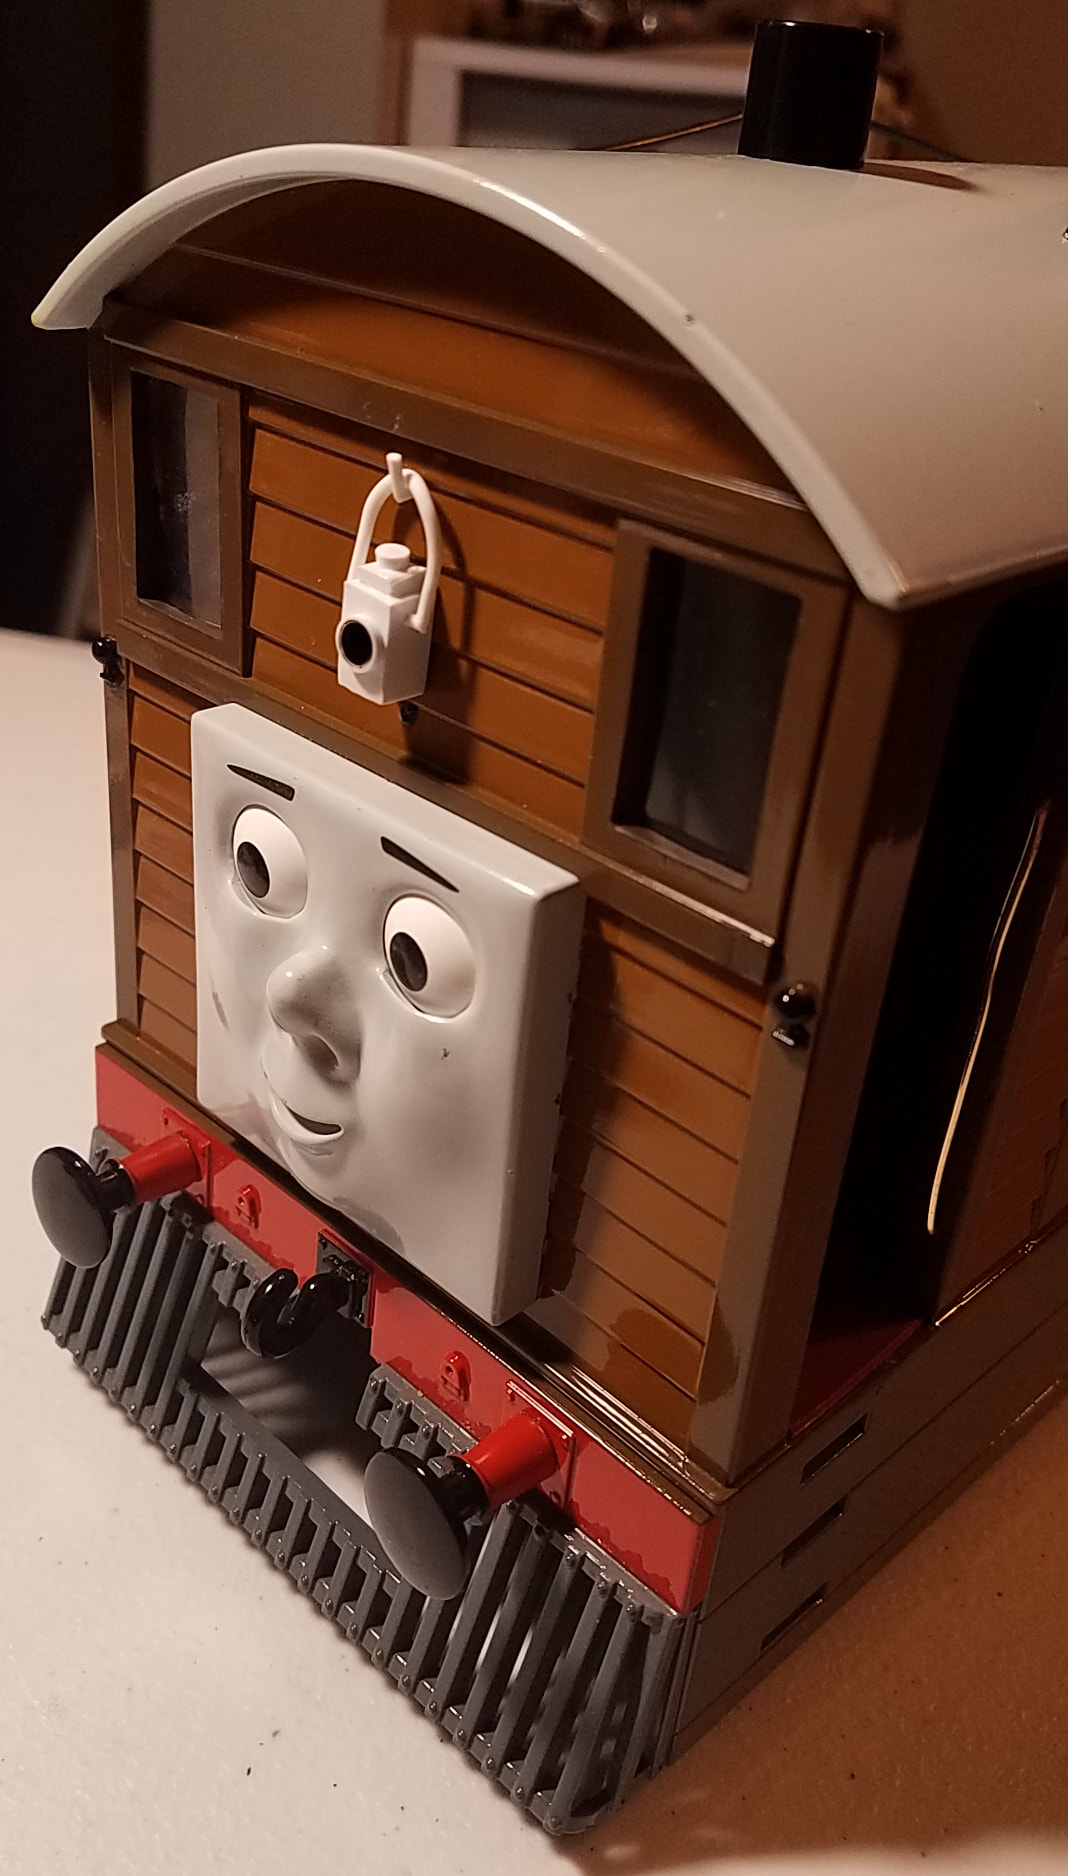
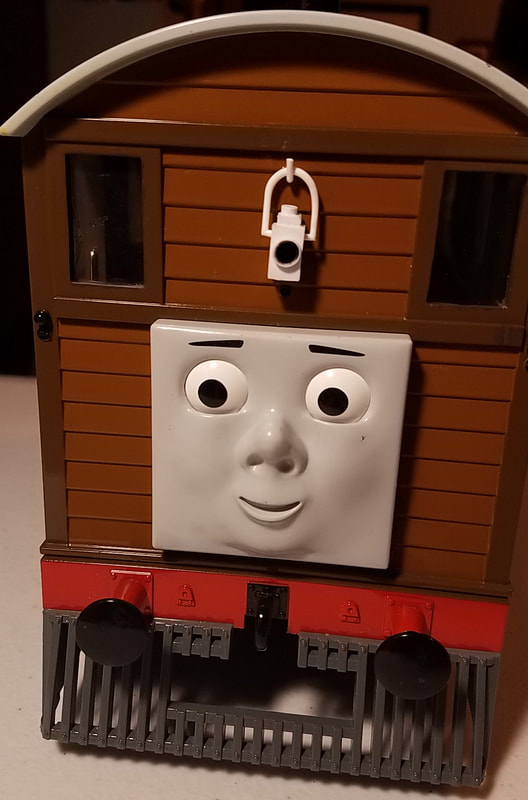
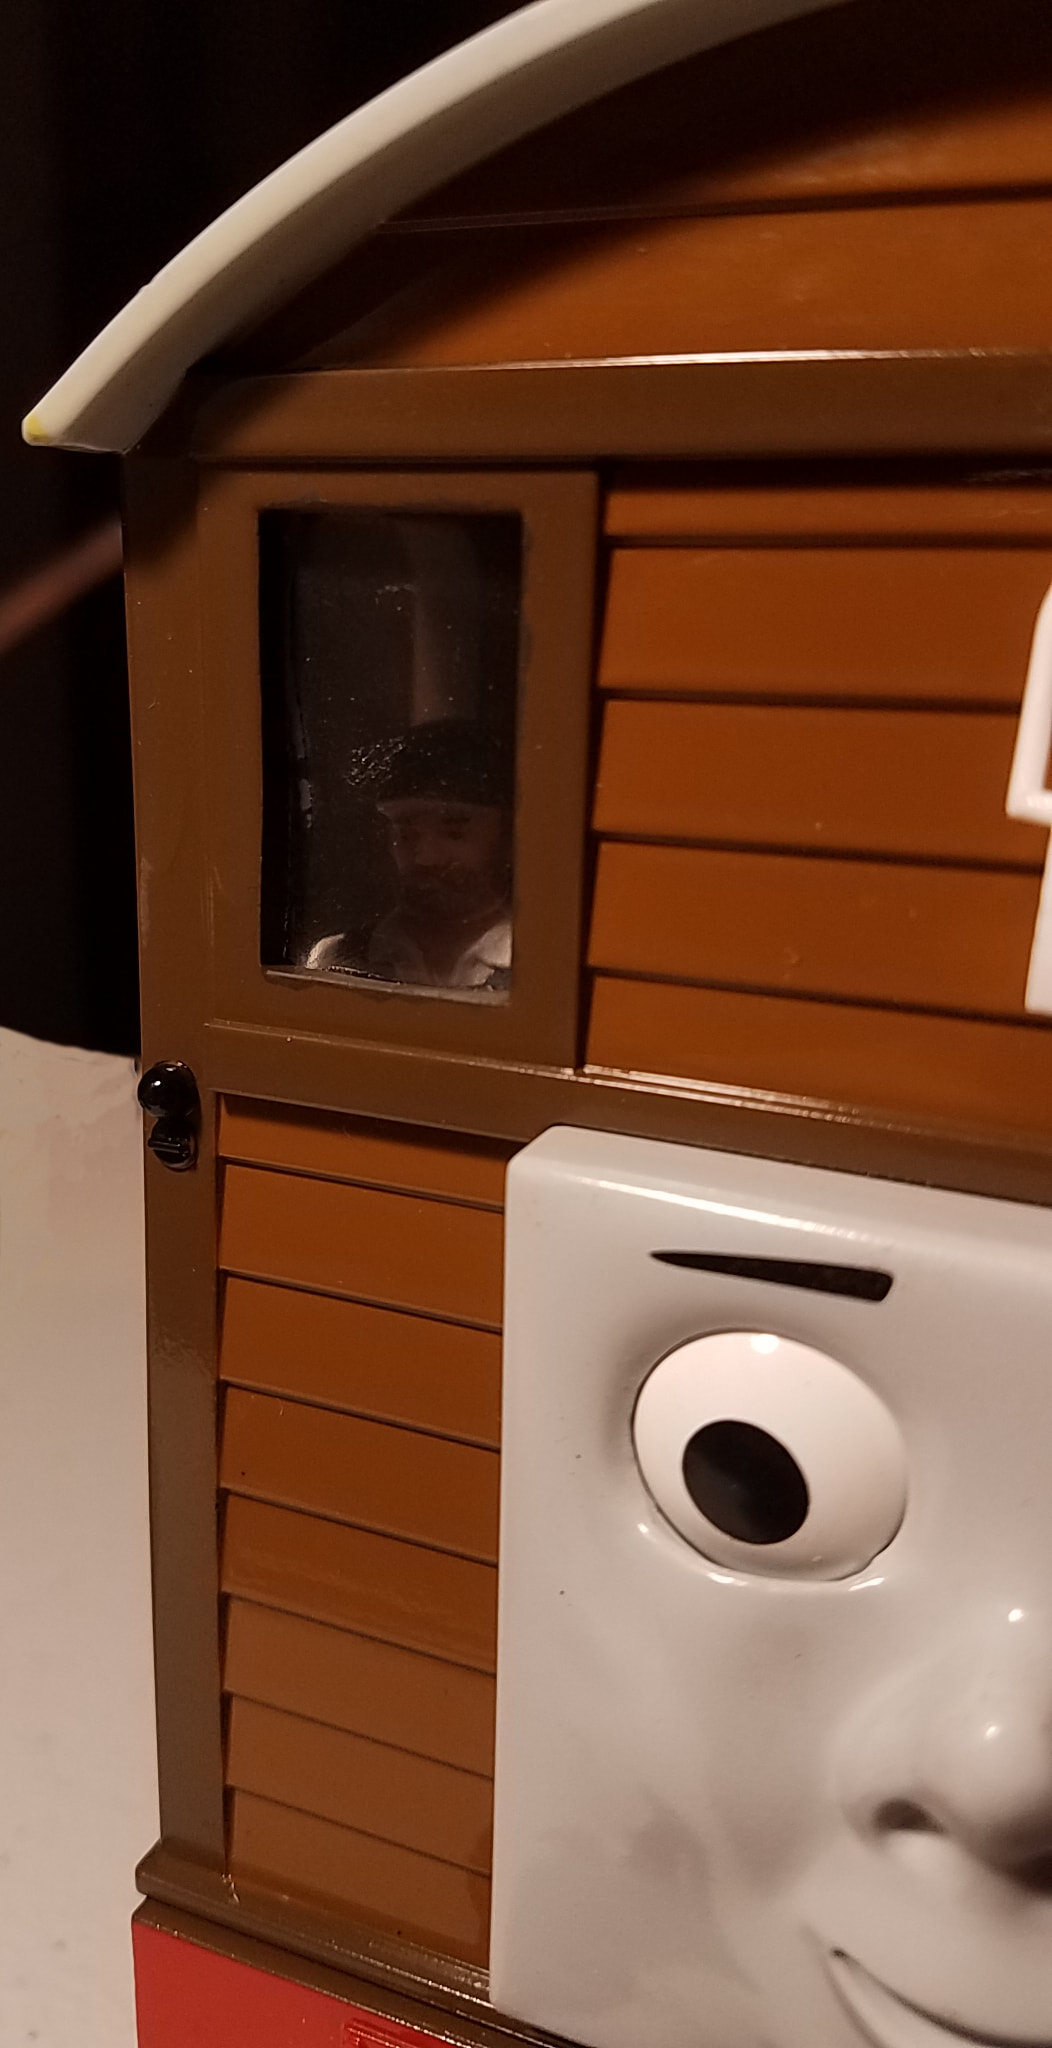
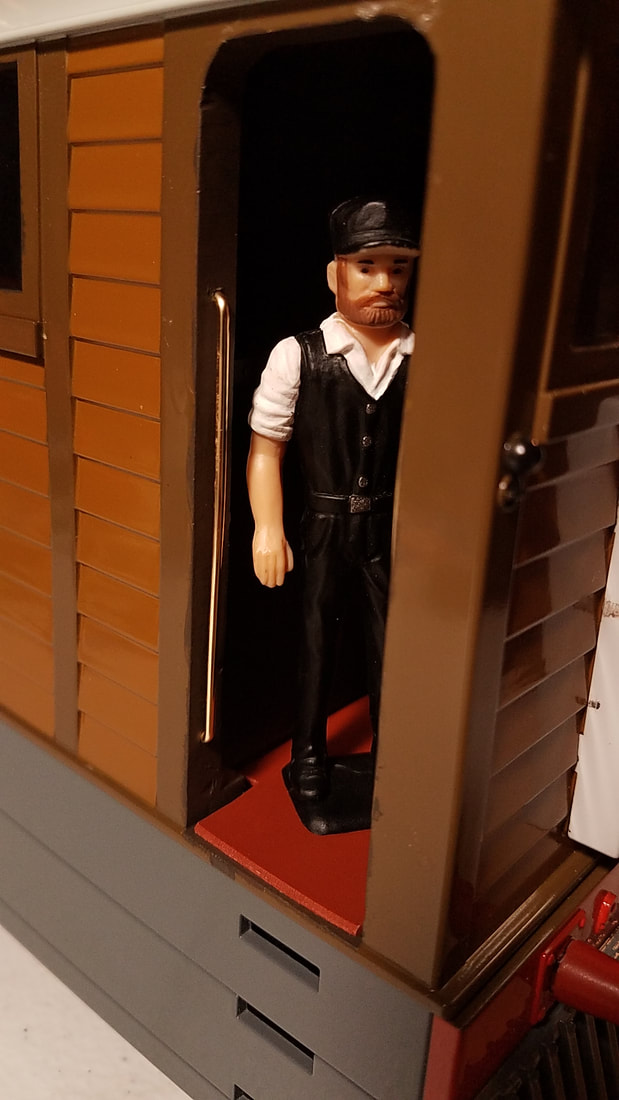
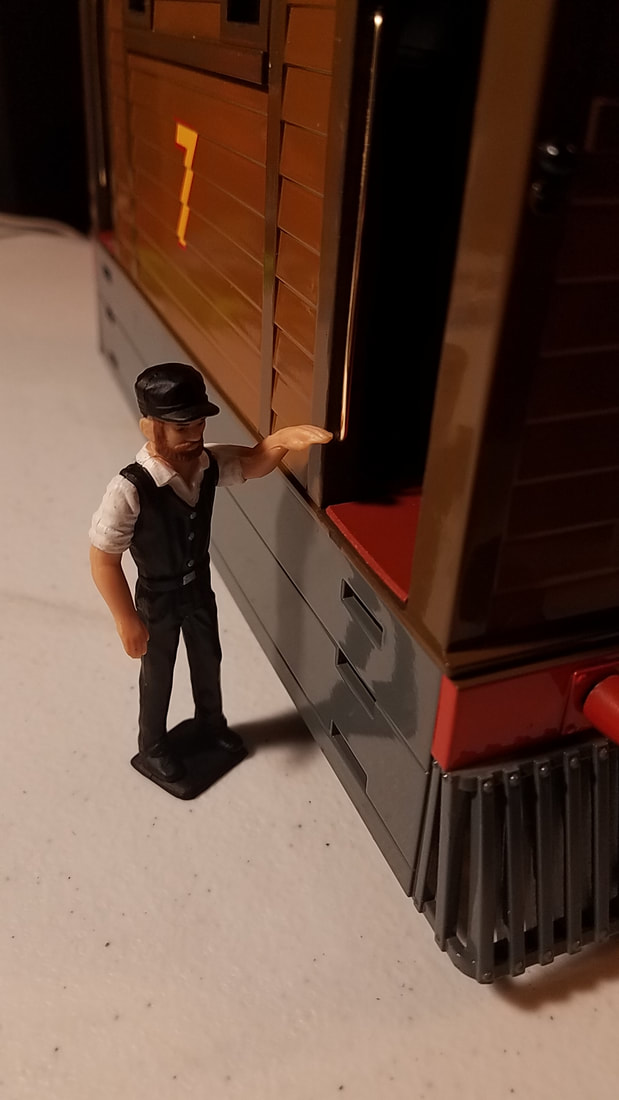
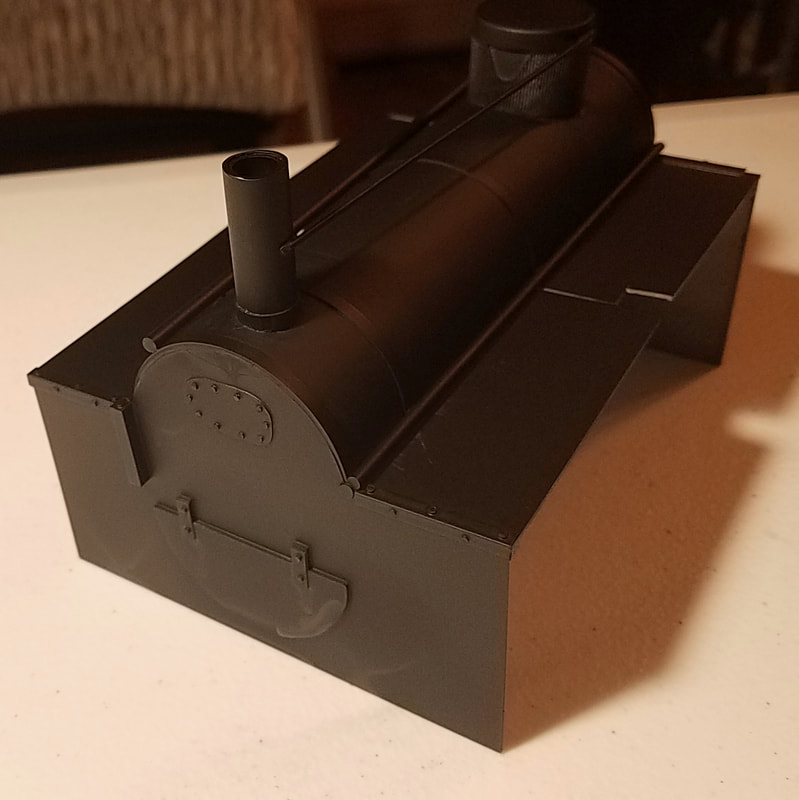
It's snowing today in Massachusetts, so I hurried up and pulled out some stock. Here's a few of the photos I took! 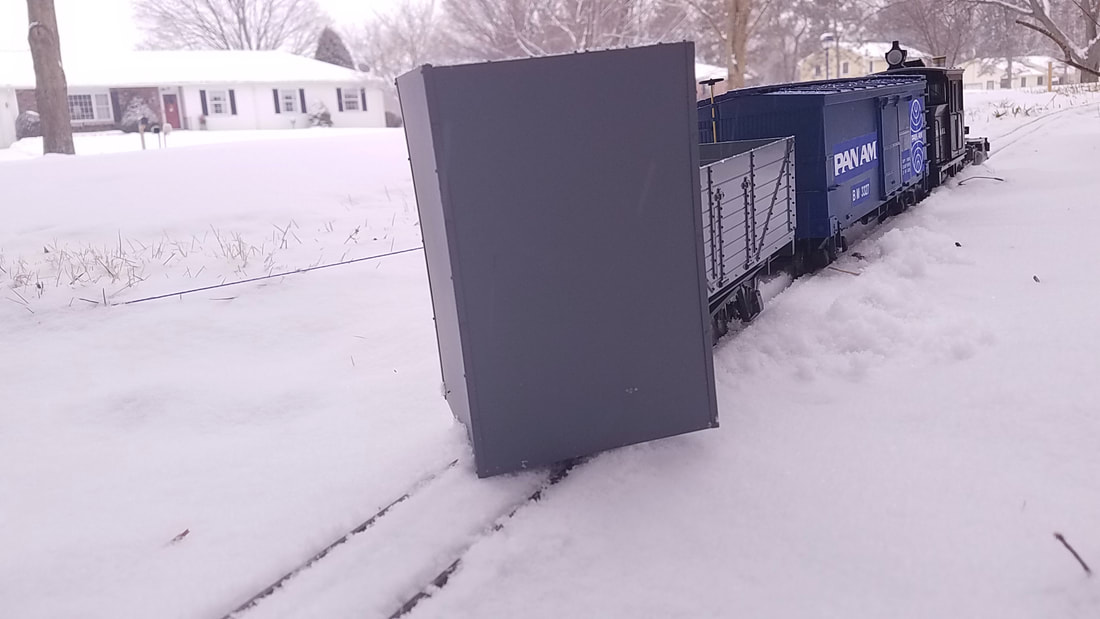 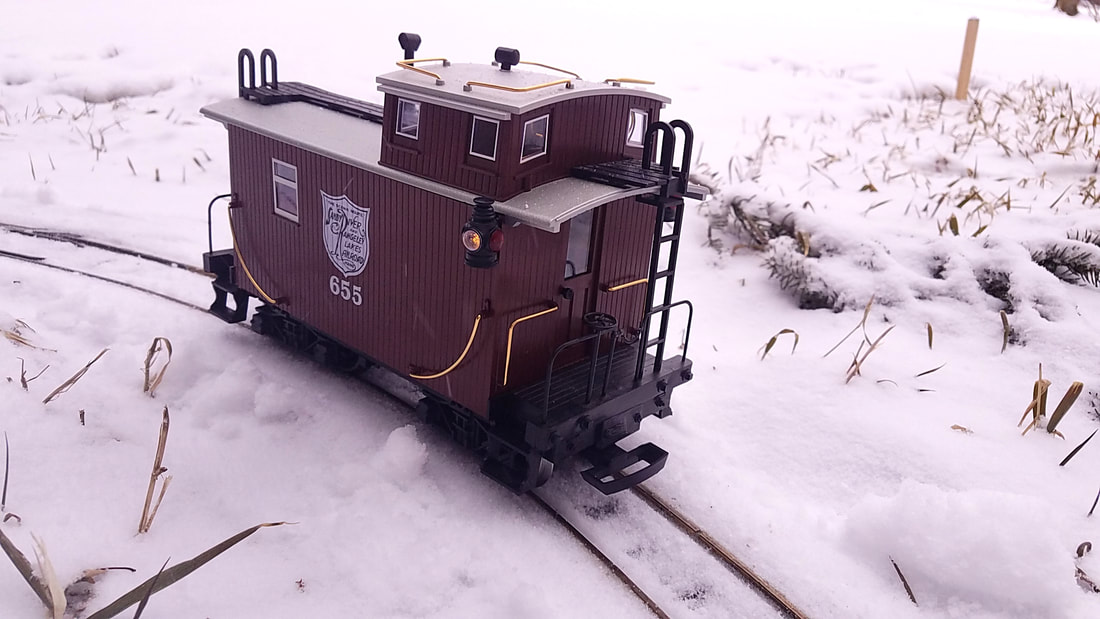 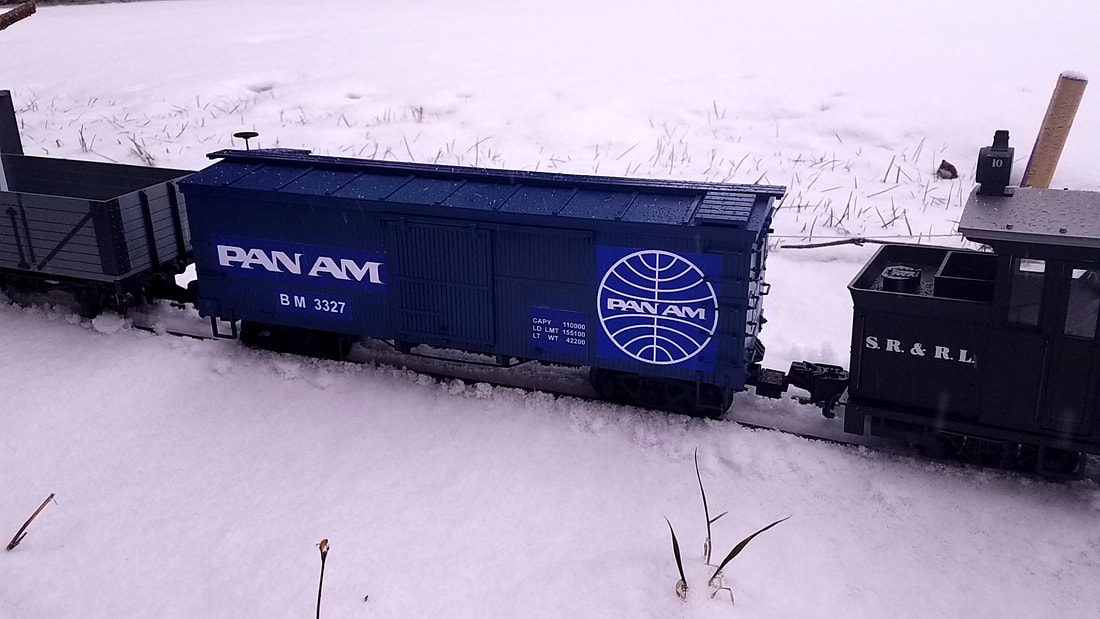 Yesterday I managed to get all the parts of the locomotive shell in place. First I painted the door trims and window frames. Next I installed the window glazings, lights, lanterns, and handrails. Then fitting the cab floors and boiler in place (the most tricky part!). Here's a bunch of photos of the finished work. Well, almost. I need to clean the windows to get Toby show-ready. Once my Rx is delivered I can put that in place and run my loco. I also want to add a couple more details to the cabs such as brakes, hand wheels, and gauges. Click on a photo to view this gallery in full-screen. I managed to get Toby's boiler painted today an it looks just as good as I had hoped! Note in the second photo the chimneys line up almost perfectly (although the interior part looks smaller for some reason).
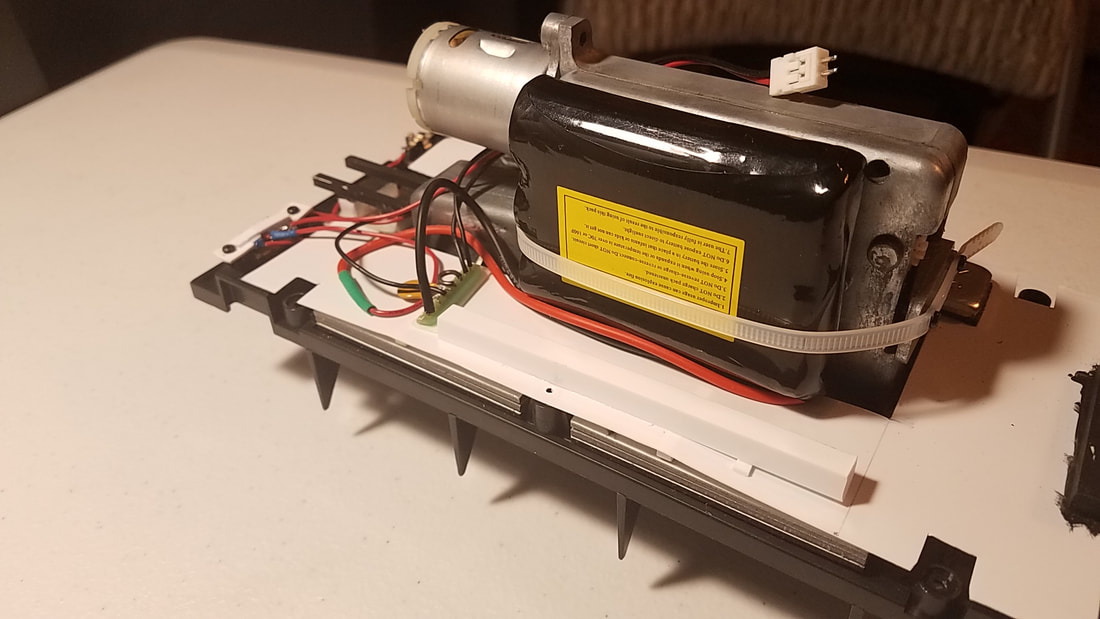
More progress on Toby today! I made a quick modification to the strap I am using to keep the battery in place. I realized that it would be better to be able to remove it when needed, so I took a zip tie and drilled a few screw holes in it. This actually works out better because it holds the battery in place more effectively. I also finally finished the boiler details which include a dome (I assume it's meant to be a steam dome, but I'm not sure), plus rivets on the front & rear corners. The dome is a cap off a food coloring container! Finally, I finished cutting open and sanding the windows and doors in the locomotive shell. Next up is painting the frames then putting it all together.
I have made lots of progress on Toby in the last few days. I'm working hard on this model because I am hoping to bring it with me to the ECLSTS in York, PA later this month. My last update saw the construction of the boiler inside the shell and I have since had to cut it in half to fit it in the shell.
Let's see... what else have I managed? I painted the entire inside of the shell using the same red-brown that I used for the cab floors. I wired the Li-Ion (11.1v) in place and soldered the wiring for the front & rear lights. The only thing I am waiting for is the Receiver from RC Trains to finish the wiring.
All that's really left to do is finish the window and door frames, touch up paint as needed, and then put everything together! This loco will definitely be ready for the show in three weeks. |
Hello!My name is John. This is my website dedicated to all things model railroading! I hope you enjoy! Archives
March 2020
Categories
All
This site was last updated
at date of top Project post or more recently. |

 RSS Feed
