|
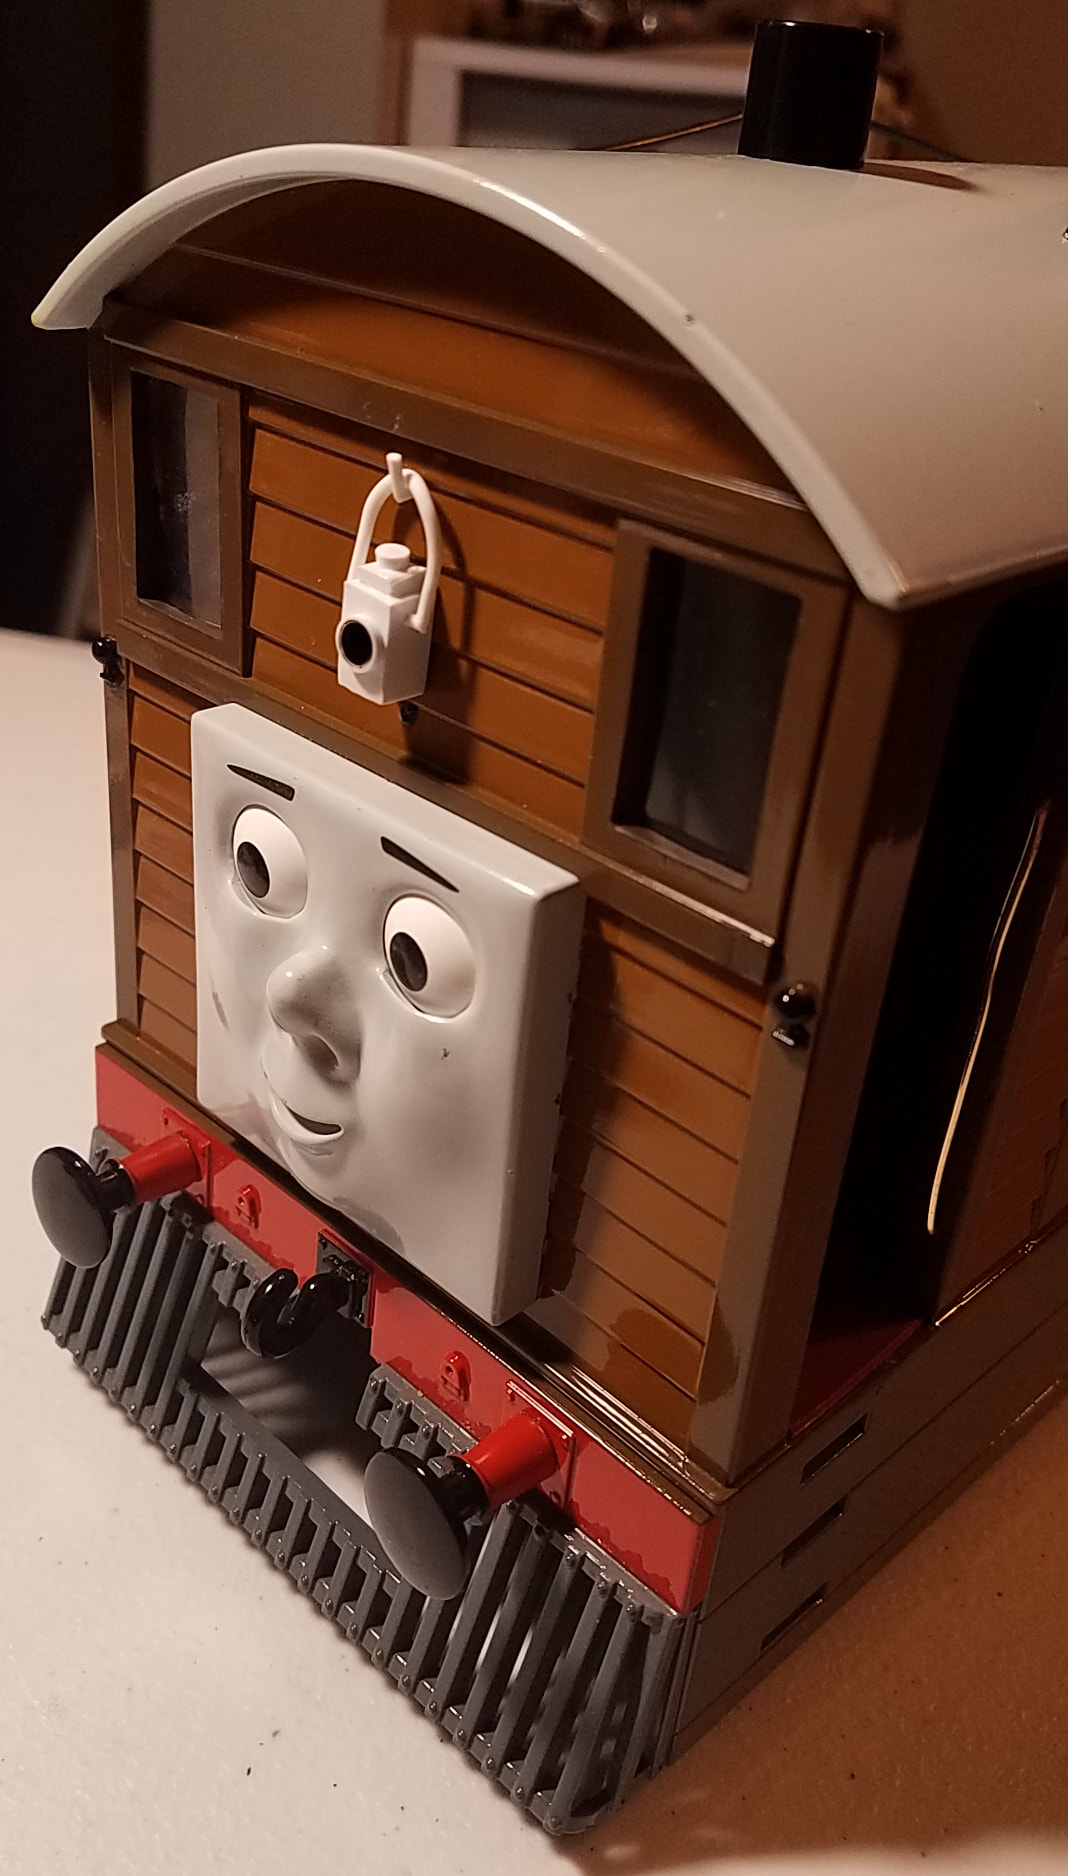
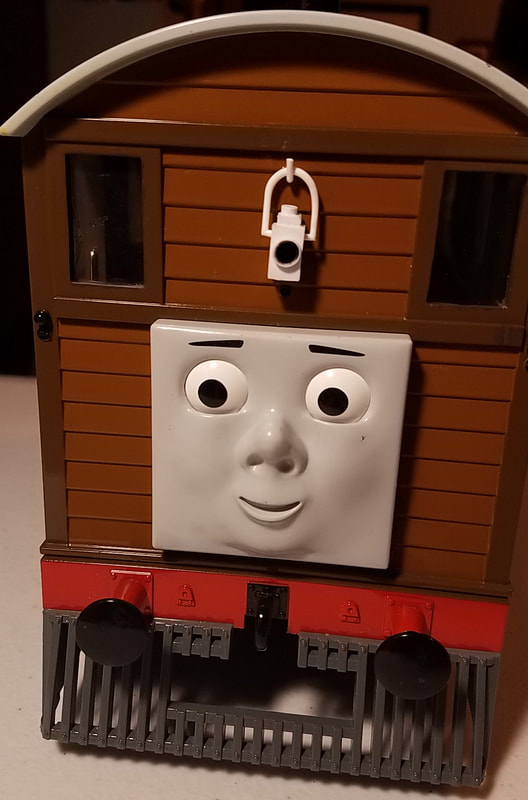
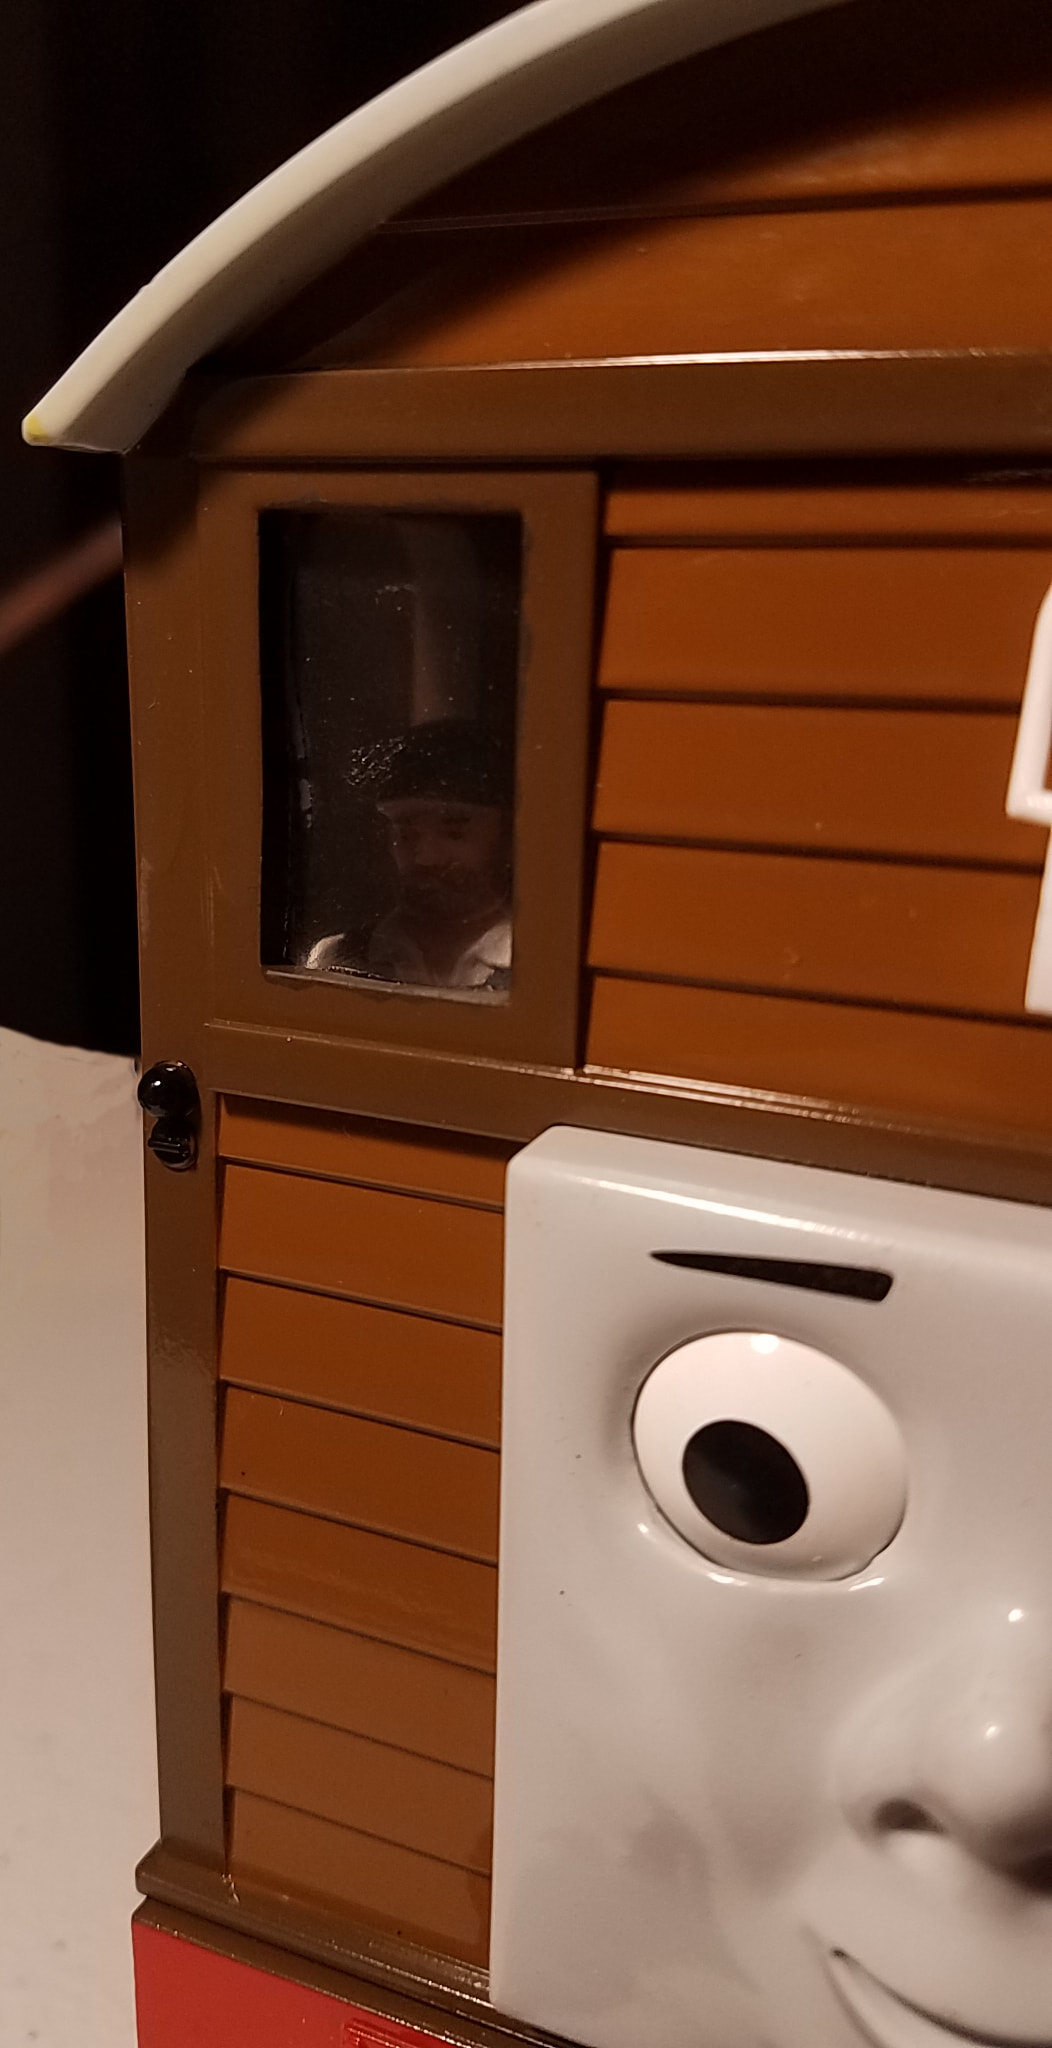
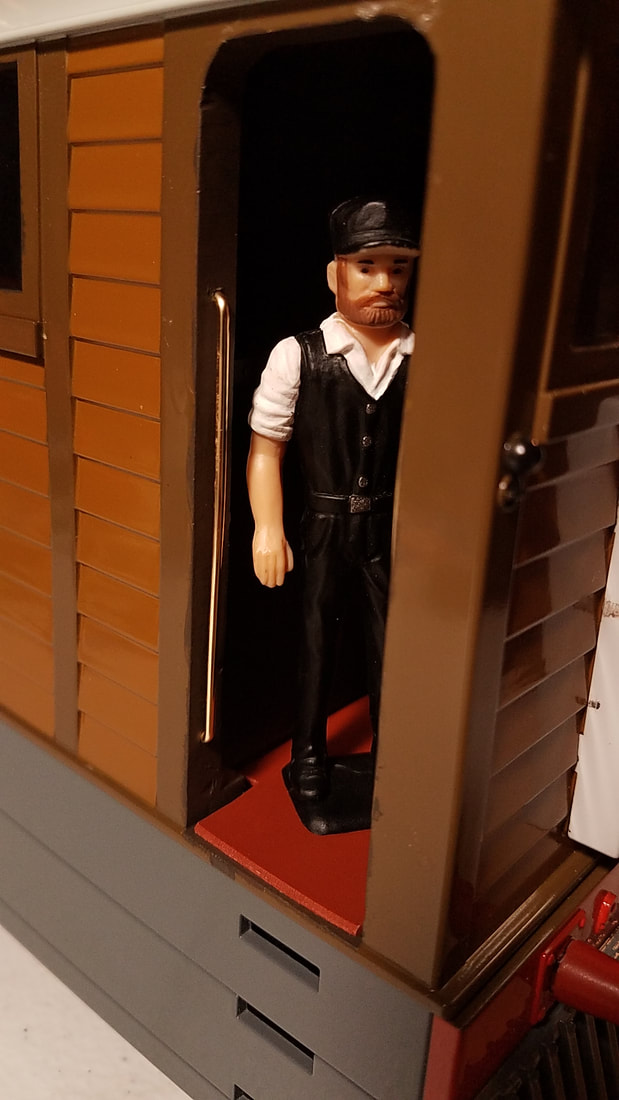
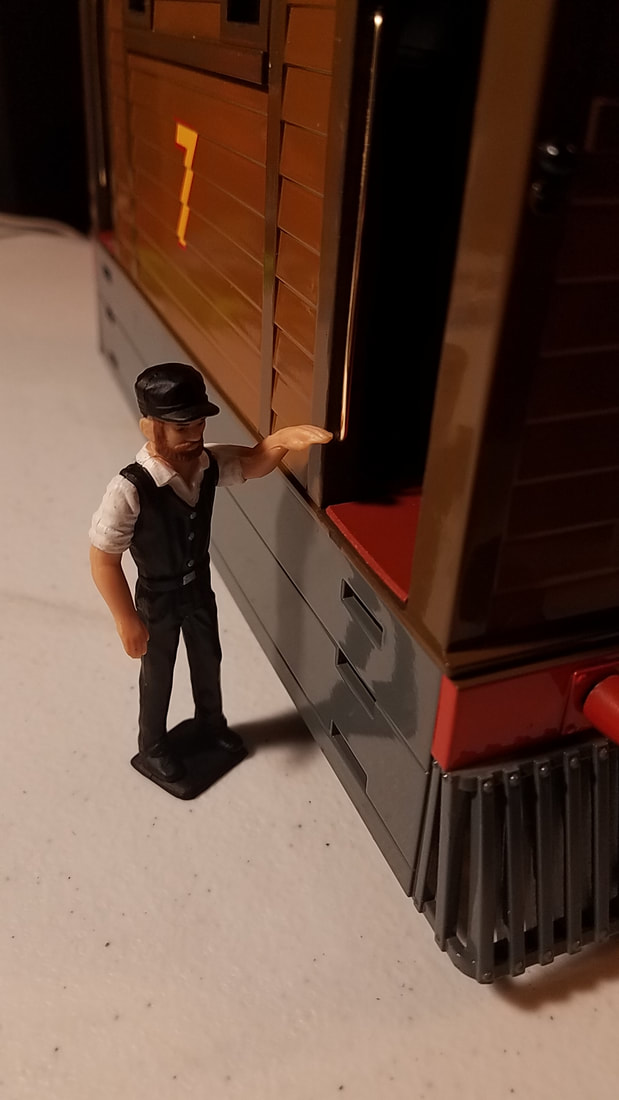
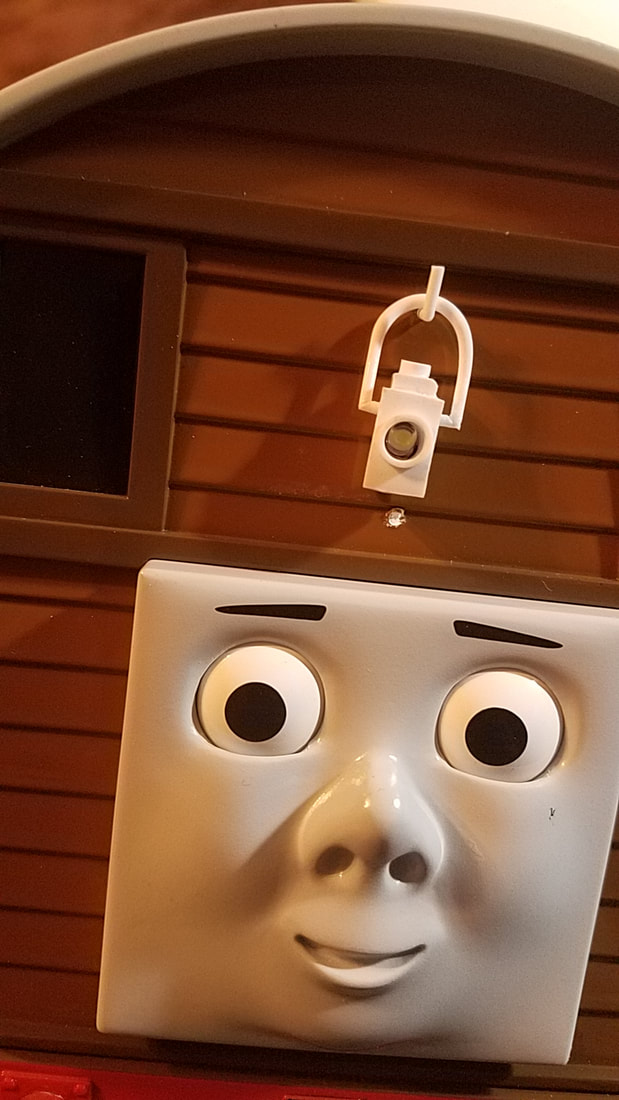
Yesterday I managed to get all the parts of the locomotive shell in place. First I painted the door trims and window frames. Next I installed the window glazings, lights, lanterns, and handrails. Then fitting the cab floors and boiler in place (the most tricky part!). Here's a bunch of photos of the finished work. Well, almost. I need to clean the windows to get Toby show-ready. Once my Rx is delivered I can put that in place and run my loco. I also want to add a couple more details to the cabs such as brakes, hand wheels, and gauges. Click on a photo to view this gallery in full-screen.
0 Comments
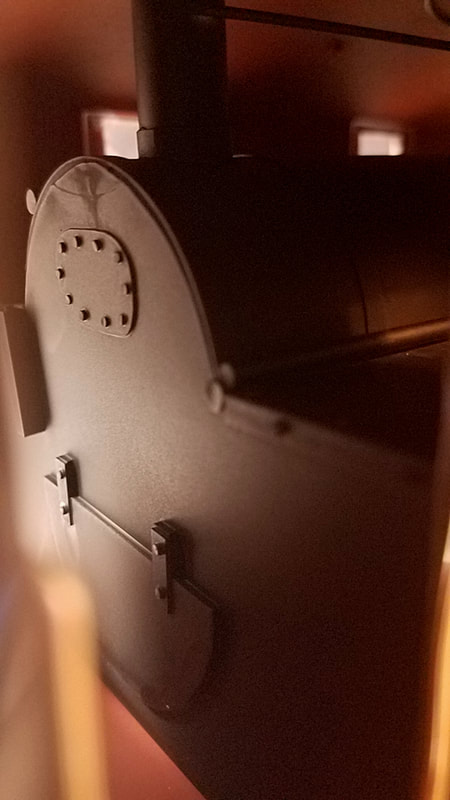
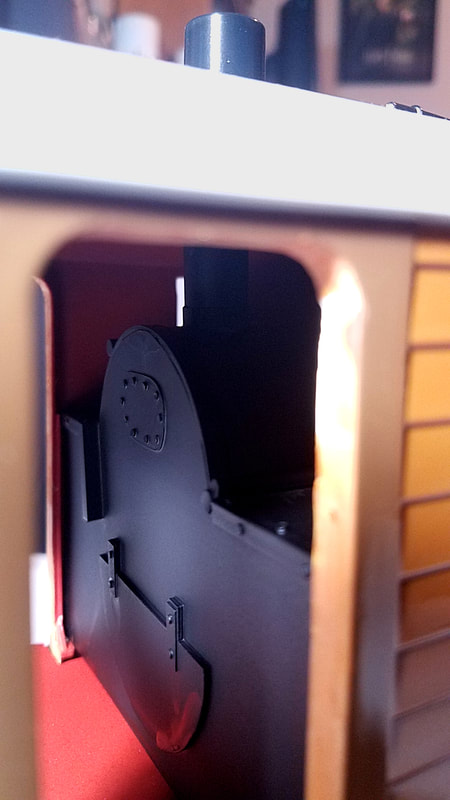
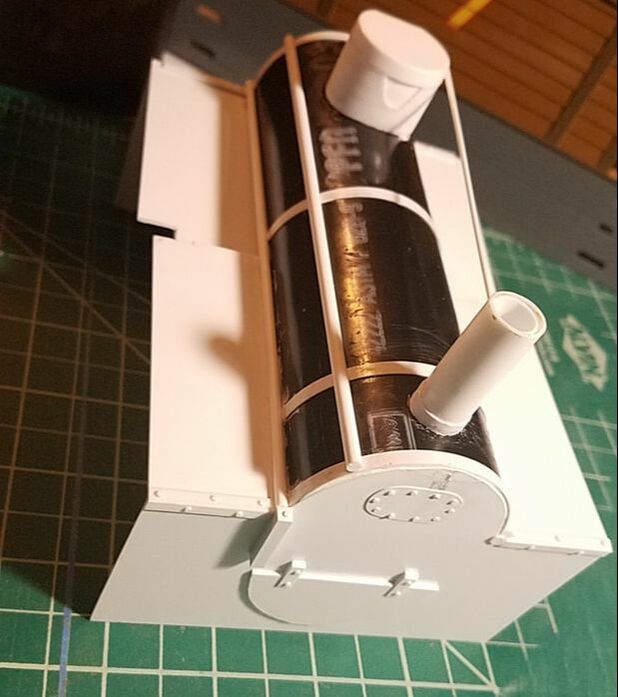
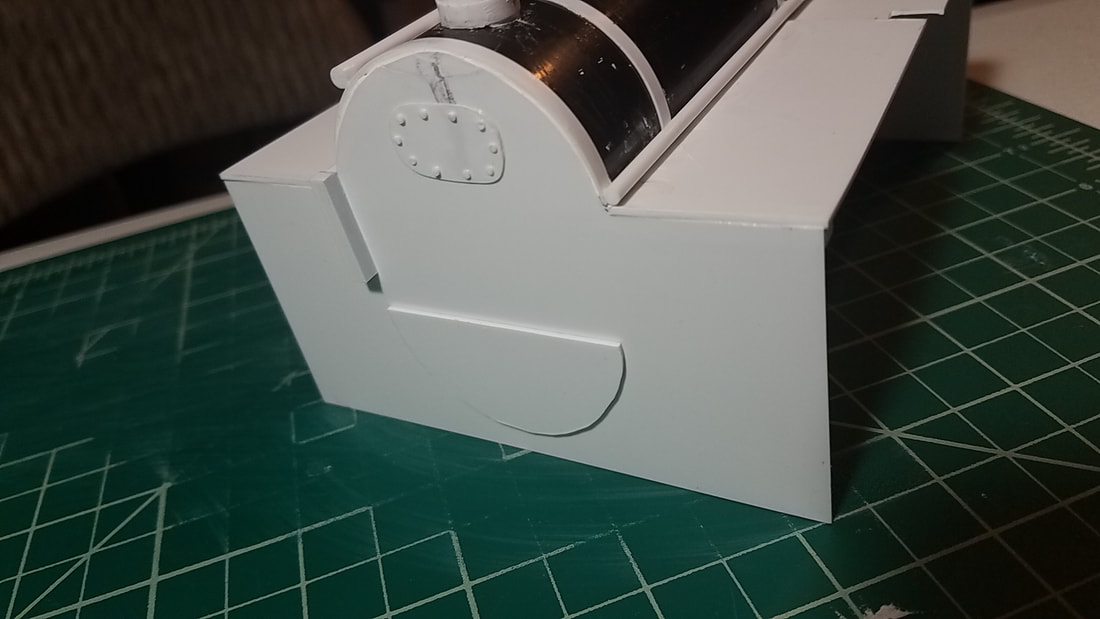
I managed to get Toby's boiler painted today an it looks just as good as I had hoped! Note in the second photo the chimneys line up almost perfectly (although the interior part looks smaller for some reason).
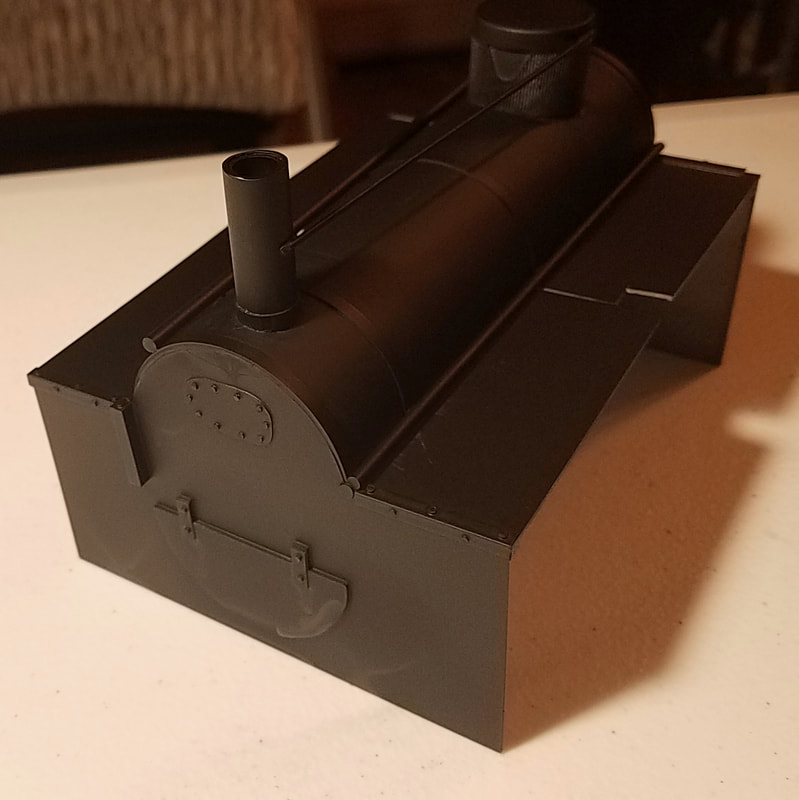
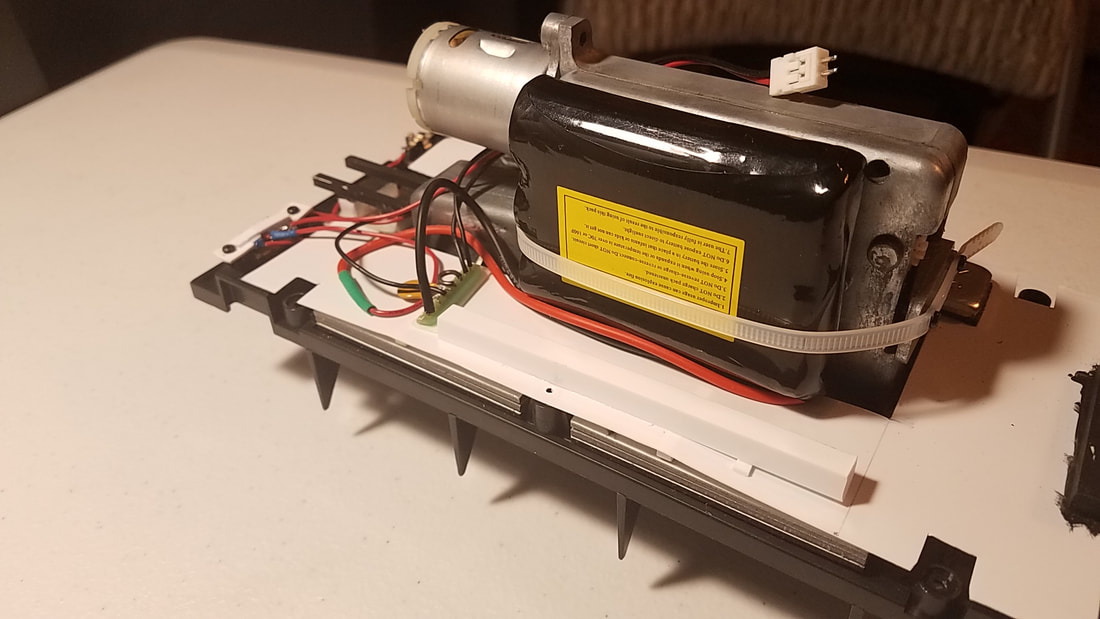
More progress on Toby today! I made a quick modification to the strap I am using to keep the battery in place. I realized that it would be better to be able to remove it when needed, so I took a zip tie and drilled a few screw holes in it. This actually works out better because it holds the battery in place more effectively. I also finally finished the boiler details which include a dome (I assume it's meant to be a steam dome, but I'm not sure), plus rivets on the front & rear corners. The dome is a cap off a food coloring container! Finally, I finished cutting open and sanding the windows and doors in the locomotive shell. Next up is painting the frames then putting it all together.
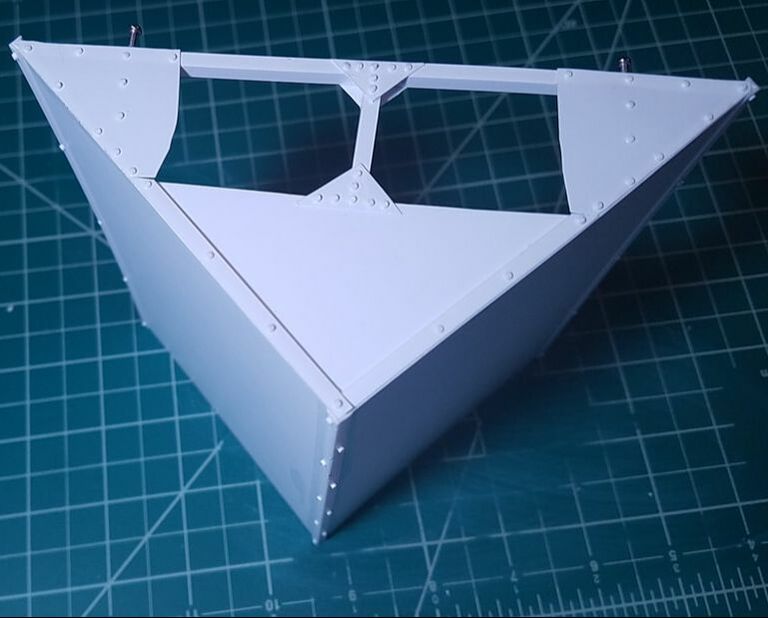
 I've painted the snowplow's blade to match the car it's attached to. When I can, I'll add a headlamp and decals eventually.
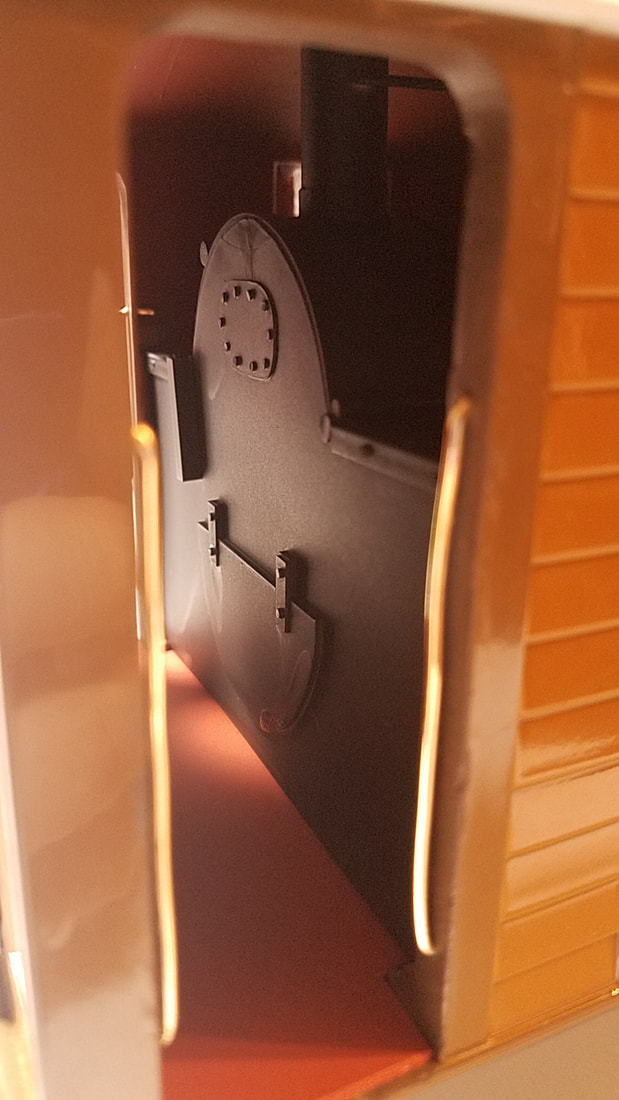
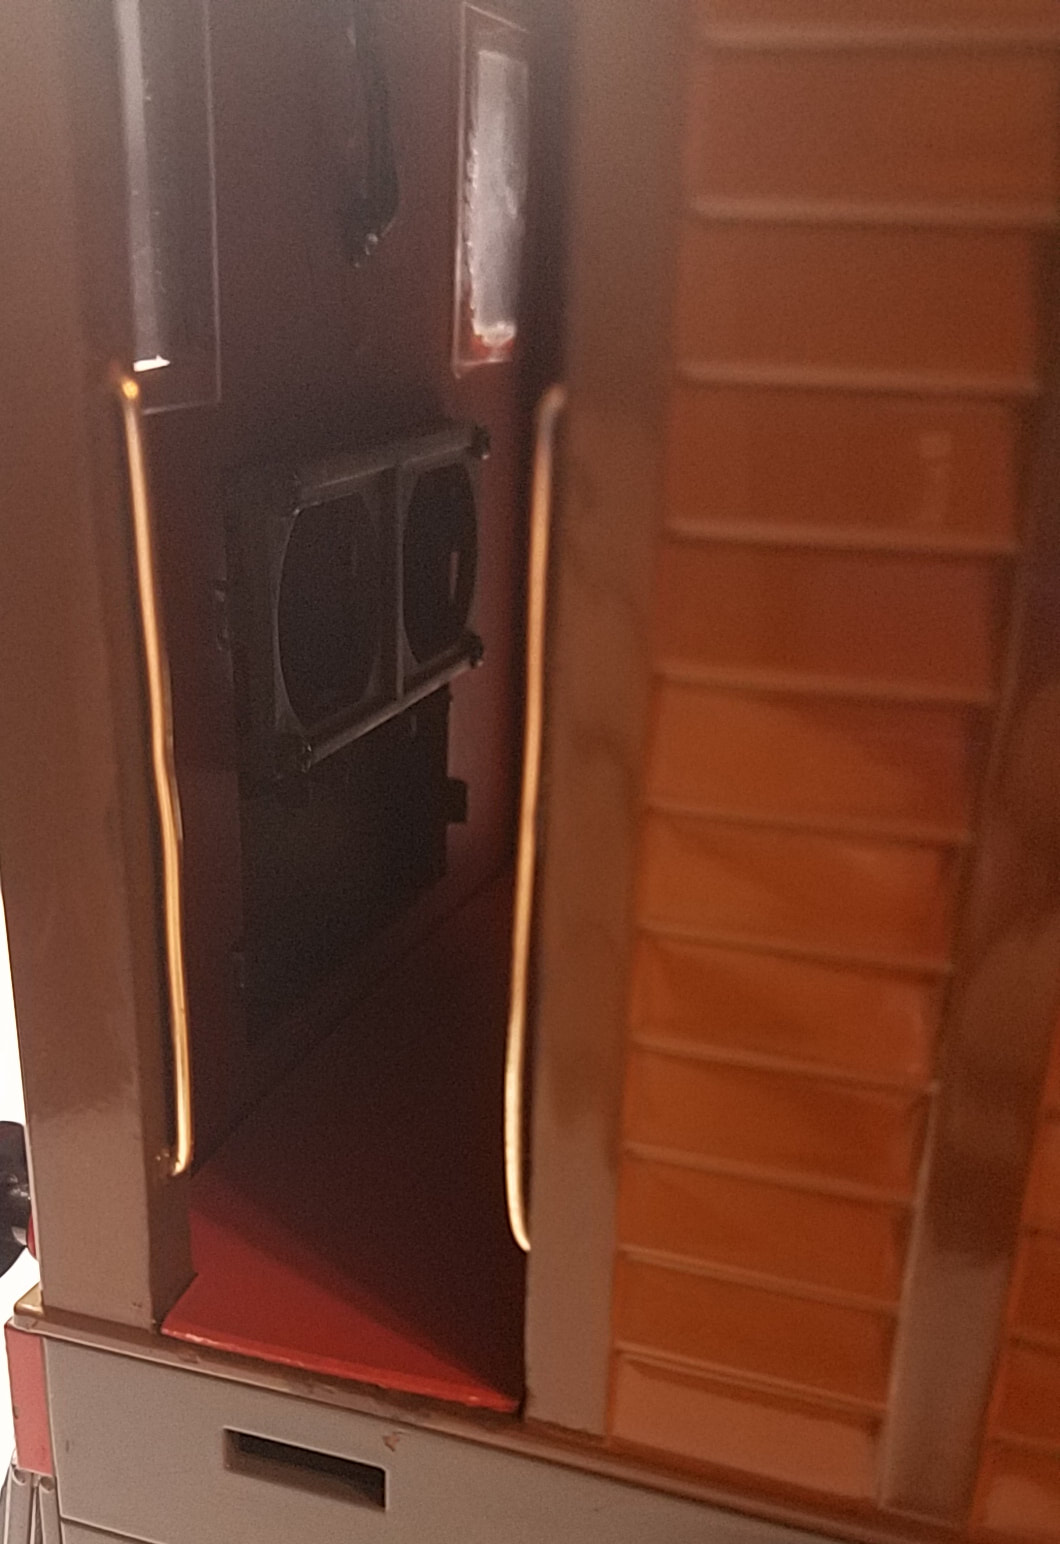
I have made lots of progress on Toby in the last few days. I'm working hard on this model because I am hoping to bring it with me to the ECLSTS in York, PA later this month. My last update saw the construction of the boiler inside the shell and I have since had to cut it in half to fit it in the shell.
Let's see... what else have I managed? I painted the entire inside of the shell using the same red-brown that I used for the cab floors. I wired the Li-Ion (11.1v) in place and soldered the wiring for the front & rear lights. The only thing I am waiting for is the Receiver from RC Trains to finish the wiring.
All that's really left to do is finish the window and door frames, touch up paint as needed, and then put everything together! This loco will definitely be ready for the show in three weeks.
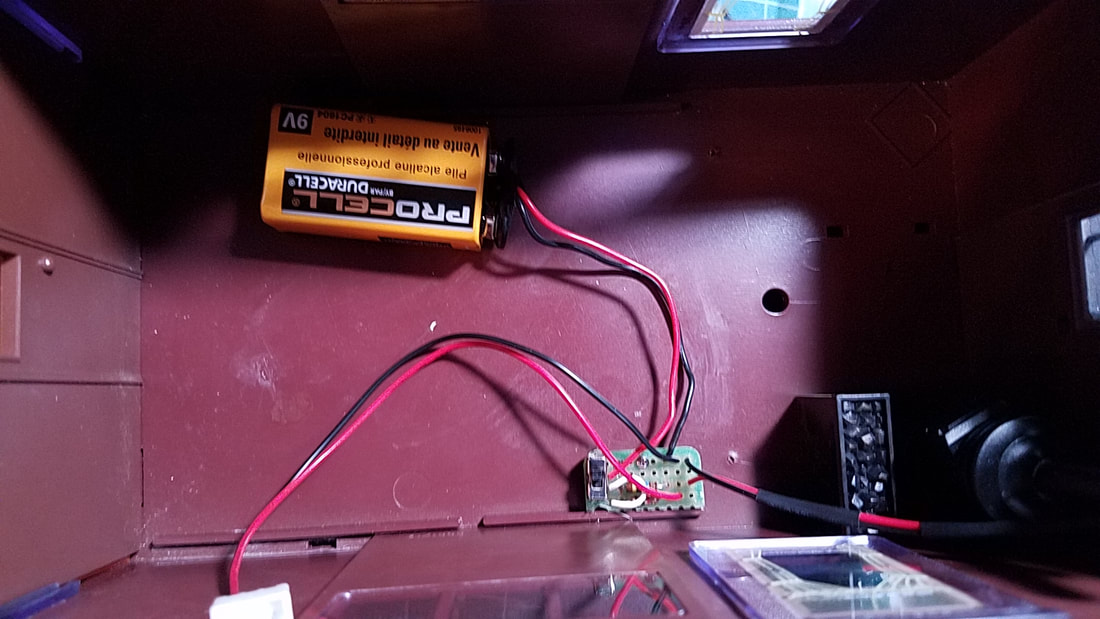
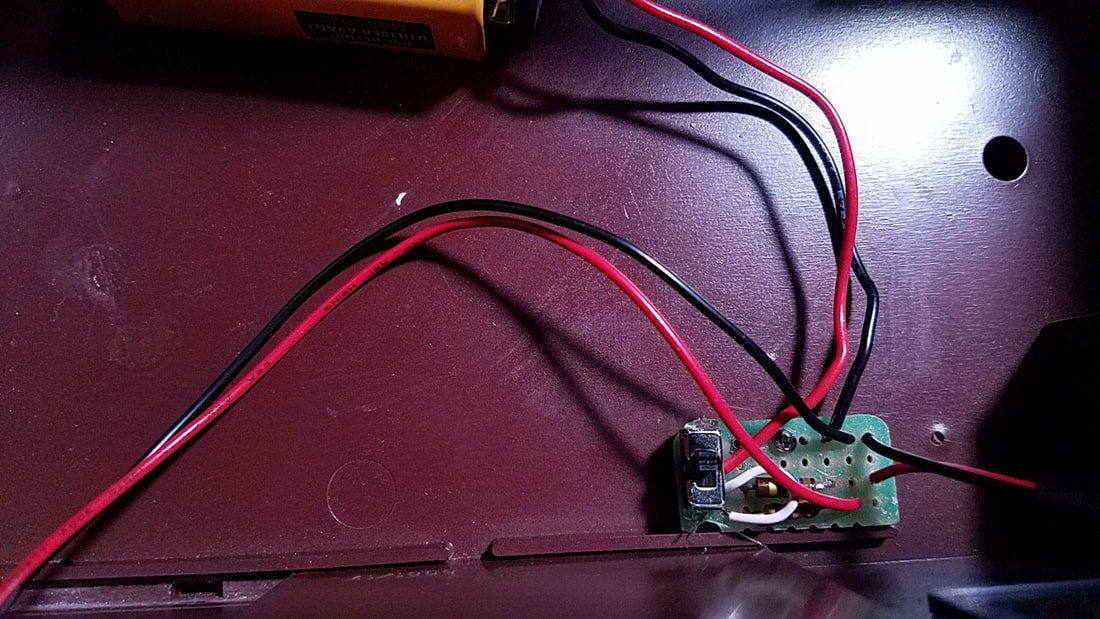
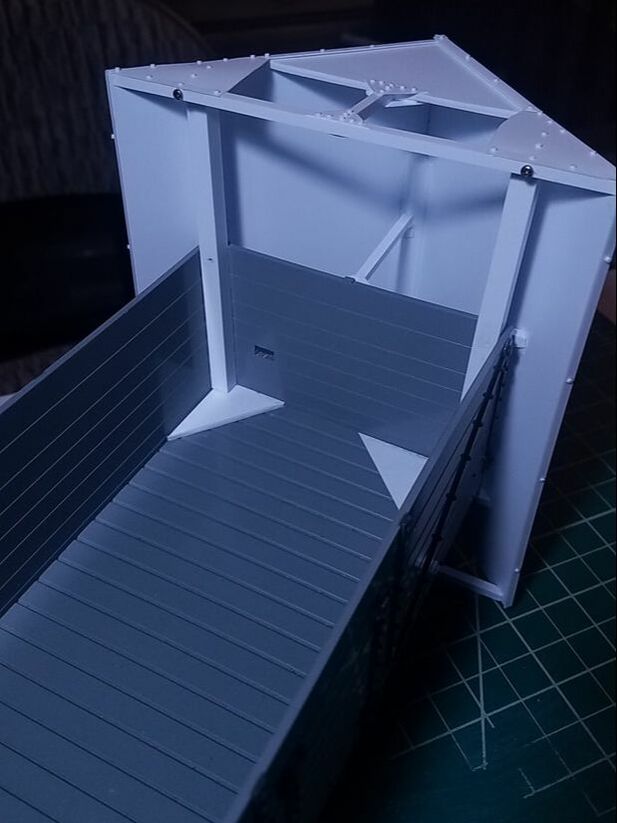
My intention was to do all three coaches from the same battery and I may end up changing my mind back, but I decided today to instead keep them on separate circuits. Currently the inside of the combine looks like this.
But, I think I'll use button-cell batteries for the other two coaches. This way would actually be easier, especially if I add more coaches to this consist. Using the same battery for all coaches also meant that the more lights connected, the dimmer they all get, which is okay up to only the pair of coaches (6 LEDs). Another downside of this method is the wires between coaches. If I could do it with really flexible wire, I'd feel better about it, but otherwise I'd be worried the wire will derail the coaches on tighter curves.
No pictures today, at least, not yet. But, I wanted to provide a quick update.
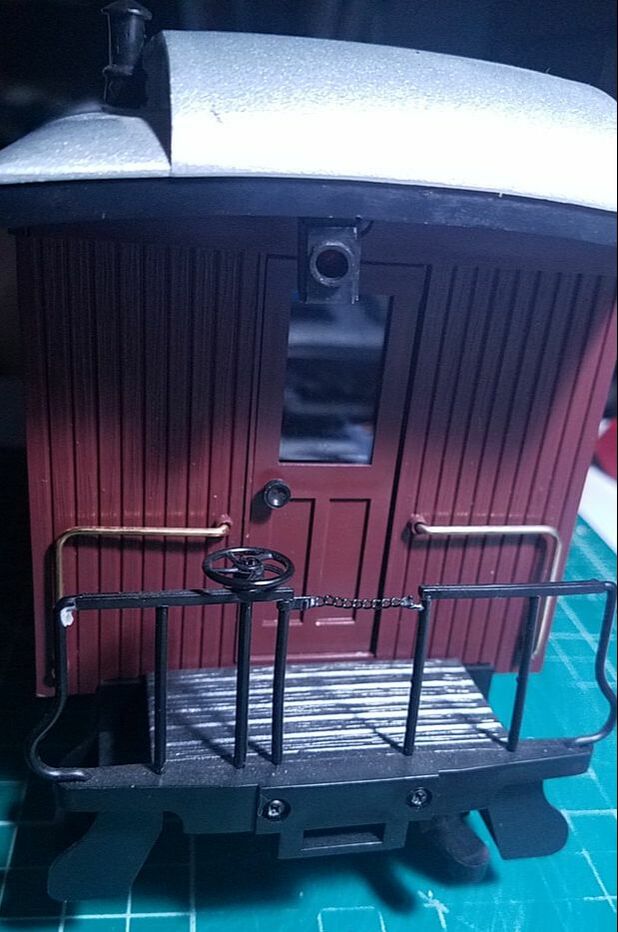
I have almost completed work on the SR&RL Caboose that the LHRR acquired about a month ago. The only thing left to do is attached a couple ferrules and connect the last few wires. I'm waiting for the ferrules to come in along with a crimper I ordered. Basically, all I did to the stock is wire in a DPDT switch so I can run the lights in either track or battery power. I managed to hide all the wires and the battery pack. I will take photos as soon as I can. 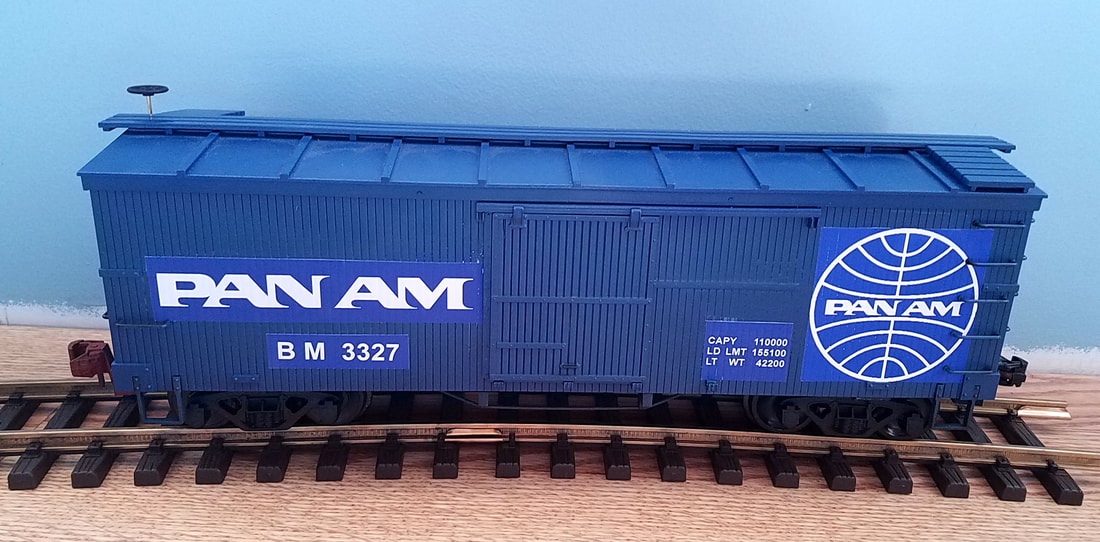 I am so happy that this car is finally done! The background color of the decals doesn't quite match that of the walls, but that's okay. It's meant to model a car that's moved ownership anyway.
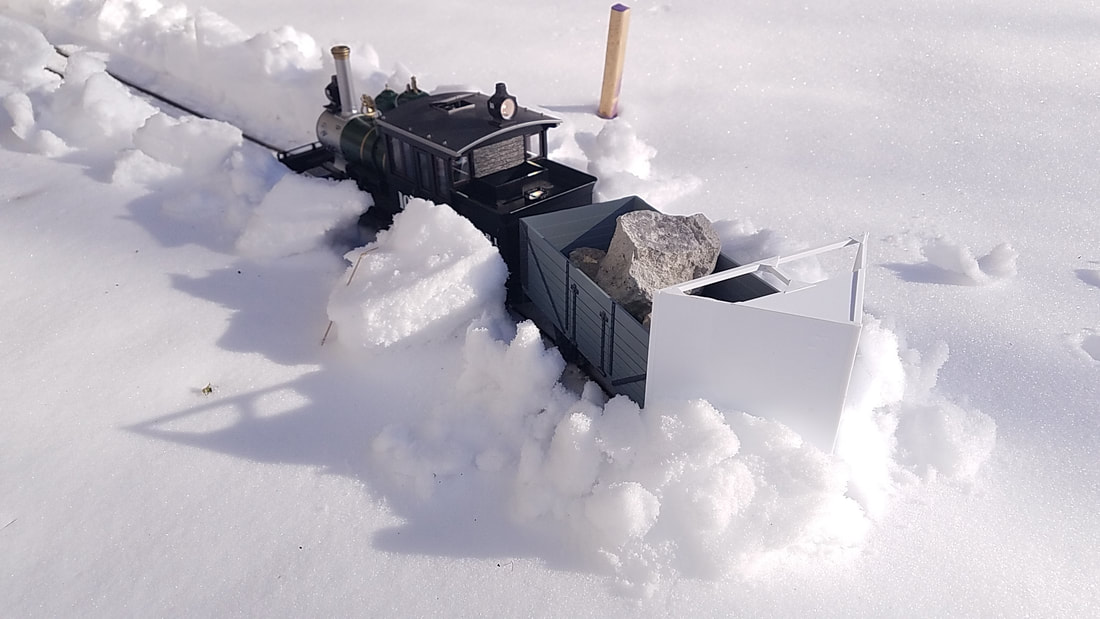
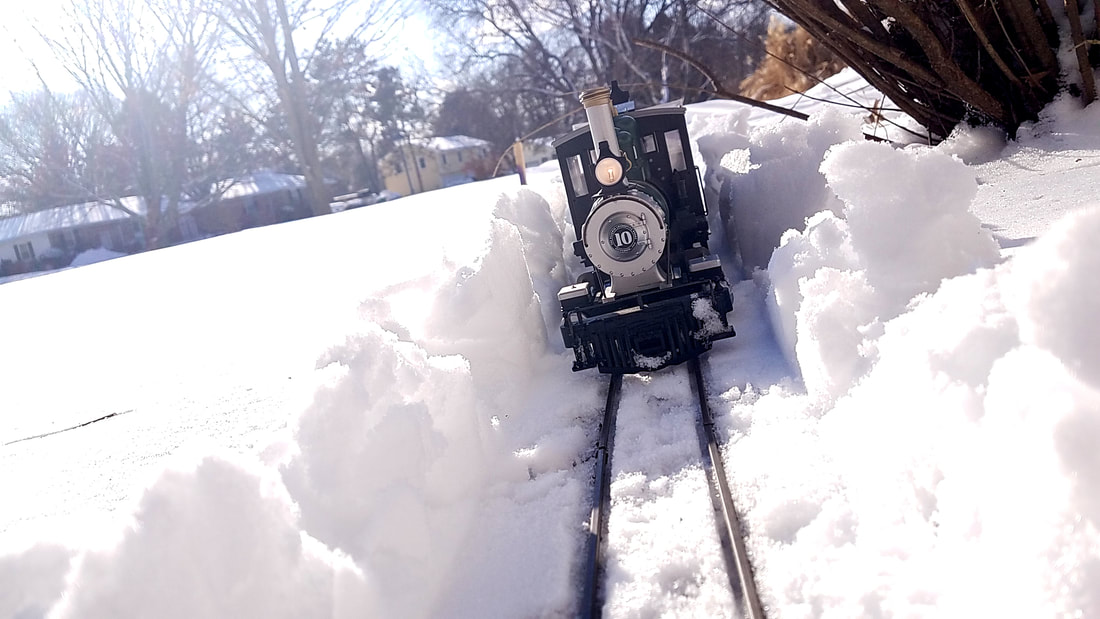
Besides the decals, this boxcar also got a new brake line (the old one had been painted blue), a paint job on the undercarriage, and the trucks got some love. I do still need to replace the couplers. The springs in these ones are all rusted. I may also repaint the grab rails black. They ended up blue somehow, too. It snowed last night! Which means that I my first thought was Oh yay! I get to try out my new plow! Unfortunately #7, whom is meant to run with the plow isn't operational yet. My Forney is also having issues at the moment, but it cooperated long enough for me to try out the plow in the dense, packed snow. Here's some photos I took during the testing...
Unfortunately, this test only really cleared a section of straight track. The curve I was headed towards is buried under almost 2 feet of snow, so that clearly wasn't going to happen... I al slightly worried about the clerence this plow will provide on a curve, but at least it gives plenty of space on a straight; as can be seen above. I did take about 4 minutes of video while operating in the snow. Once I get to edit it down I'll add it to this post.
|
Hello!My name is John. This is my website dedicated to all things model railroading! I hope you enjoy! Archives
March 2020
Categories
All
This site was last updated
at date of top Project post or more recently. |


 RSS Feed
