|
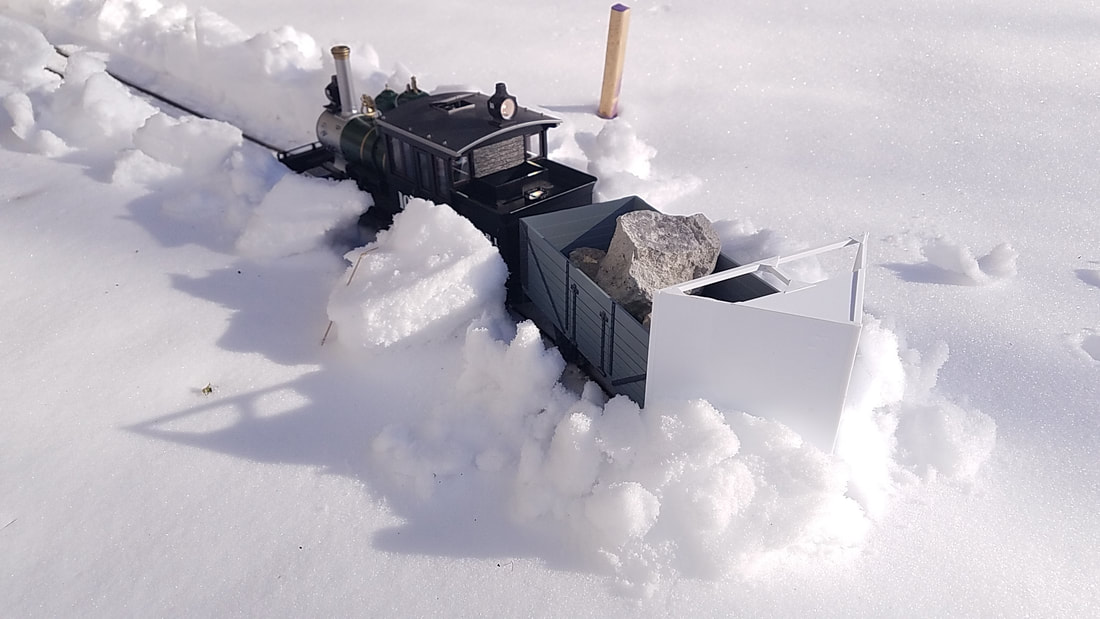
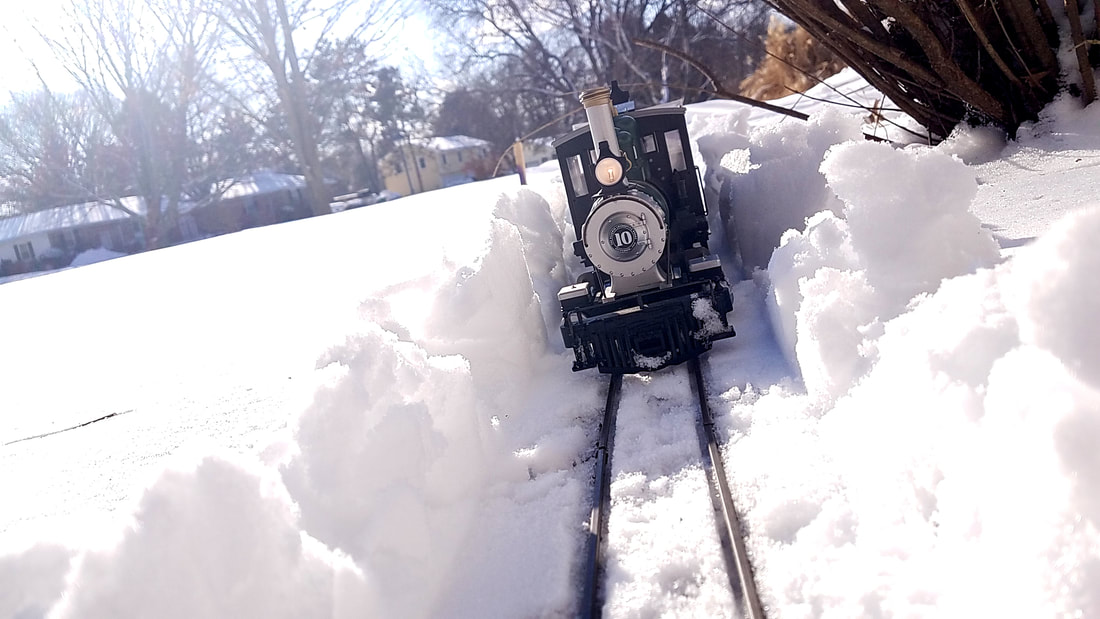
It snowed last night! Which means that I my first thought was Oh yay! I get to try out my new plow! Unfortunately #7, whom is meant to run with the plow isn't operational yet. My Forney is also having issues at the moment, but it cooperated long enough for me to try out the plow in the dense, packed snow. Here's some photos I took during the testing...
Unfortunately, this test only really cleared a section of straight track. The curve I was headed towards is buried under almost 2 feet of snow, so that clearly wasn't going to happen... I al slightly worried about the clerence this plow will provide on a curve, but at least it gives plenty of space on a straight; as can be seen above. I did take about 4 minutes of video while operating in the snow. Once I get to edit it down I'll add it to this post.
0 Comments
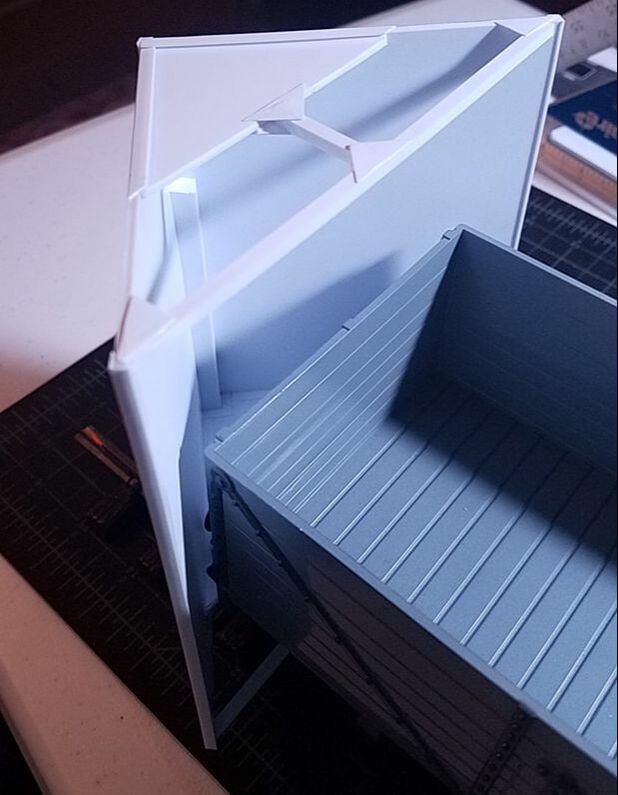
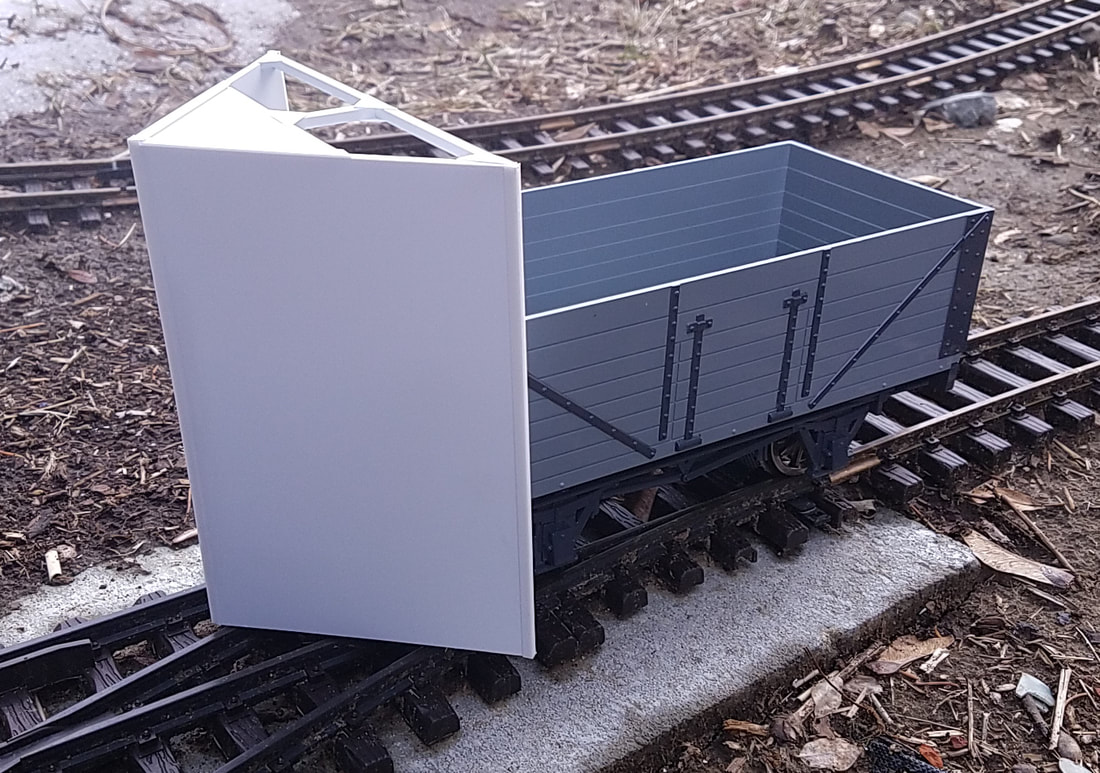
Yesterday I begun construction of a stratch-build snowplow for my railroad. This is the first large piece I have built from styrene, but I am happy with it so far. But, there is still quite a bit to do!
I am hoping to find a US-style headlamp similar to that of the lights on my Forney to mount on the snowplow, then run a line into the car where a battery will be hiding. I'm thinking I can install a plug in the front of the car or the chassis so that the plow can be removed, if need be. But, I'm not sure, then, how I'll secure the supports inside the bed...
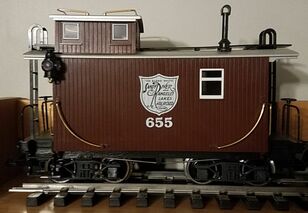 As of yesterday my Sandy River & Rangeley Lakes Trains are complete; I finally was able to buy an LGB SRRL Caboose. This caboose will be the end of my SRRL Work Consist (2x flatbeds, 1x boxcar, 1x caboose). This is a lighted car, and the first thing I did was make sure all lights work properly when I got the car home.
However, the car needs some work before it will be cleared for service on the LHRR. As with the SRRL Coaches, this car has plastic molded chains on either end. They will be replaced with real metal chain. In addition, I want to add a battery option to this car so the lighting will work on my railroad since I am operating as dead-rail. But, I also want to keep the track option so I will need a DPDT switch wired in so I can switch between track and battery. I have already found a great place to hide the battery, but I have to figure out where the switch will go, as well as the wiring run. Then, two small jobs need doing. First, the lantern visible in the above photo is missing it's brass strap. I will fabricate one against the other. Second, the door on the rear end of the caboose doesn't want to open easily, it appears to be slightly too low and rubbing against the floor; this will be fixed. Unfortunately the door at the front of the caboose cannot open because the circuit board on the ceiling is in it's way. I don't see a way to fix this. EDIT: One last thing: I need knuckle couplers for the caboose! I can't forget those! So, all-in-all, here's my checklist for this piece of stock:
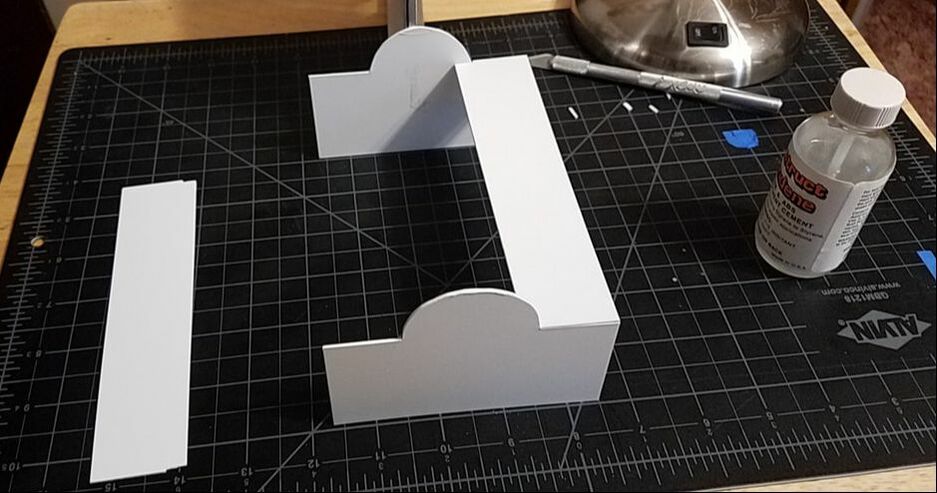
Today I built the boiler for Toby's interior. When I build a model like this I do it in cardboard first then in the final material - in this case, styrene.
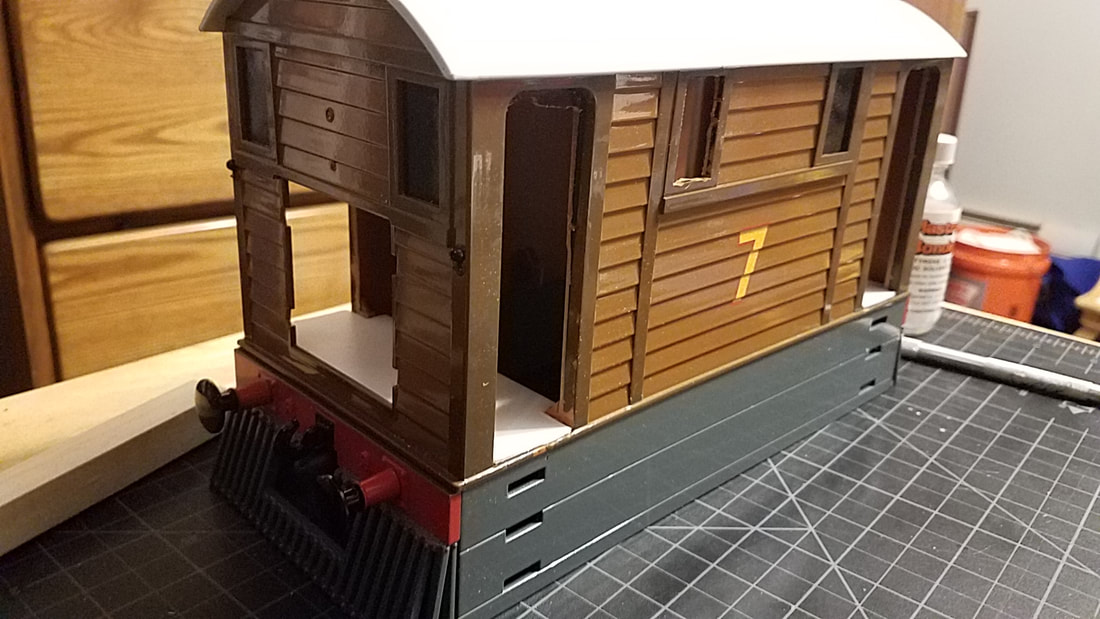
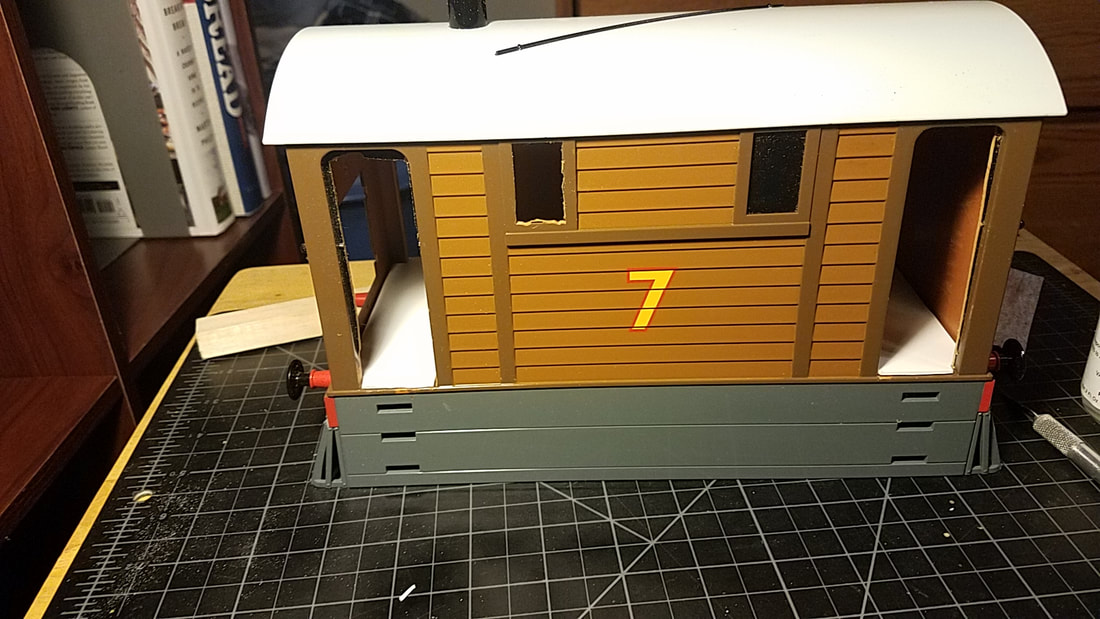
It's been quite a while since my last post! Since the weather has gotten colder and the ground has frozen it has become nearly impossible for me to do anything. But, I have recently begun actual work on Toby the Tram engine. All the doors have been removed. They need refining, but the model already looks much better! (I also removed that one window, but my hand slipped and I took out two chunks on the bottom frame. I'll have to fix that somehow.) Once I got the doors out I was able to fabricate cab floors for either end of the loco. They will not be staying white.
|
Hello!My name is John. This is my website dedicated to all things model railroading! I hope you enjoy! Archives
March 2020
Categories
All
This site was last updated
at date of top Project post or more recently. |


 RSS Feed
